
Refurbishing your Vaderstad Rapid
For Cambridge Farm Machinery, Vaderstad drills are big business. The company sells more than 40 each year and claims to be one of the UK’s largest Vaderstad dealers. Hand-in-hand with new machine sales is a refurbishment division, which each year sees between 15 and 20 used drills given a complete rebuild.
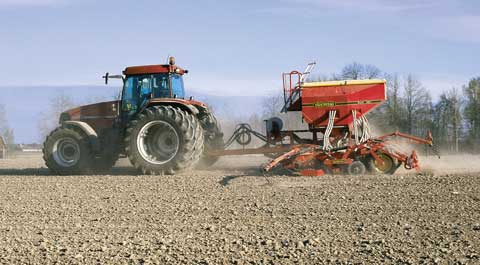
The drill we are using here is the popular Rapid RD 600F, which was introduced in 1999. Despite a series of updates made by the manufacturer, the main features of the drill are still in use on later versions. In terms of cost, a refurbishment is likely to be between £8,000 and £10,000.
Click on the numbers to see what is involved in a refurbishment.
Land wheel
The land wheel needs to be checked for teeth wear. Excessive wear means the working circumference of the wheel can change, which will result in poor calibration. Wheel slippage could also be experienced in some conditions.
Chain case
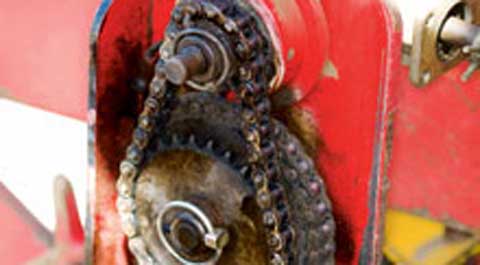
A look in the chain case (which takes the land wheel drive to the metering system) to check on chain and sprocket condition is essential.
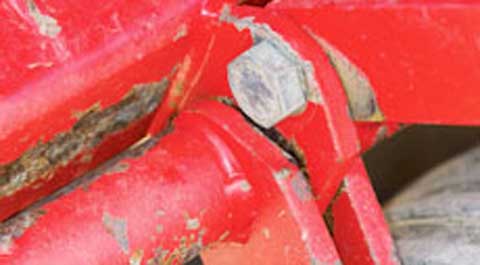
Bearings
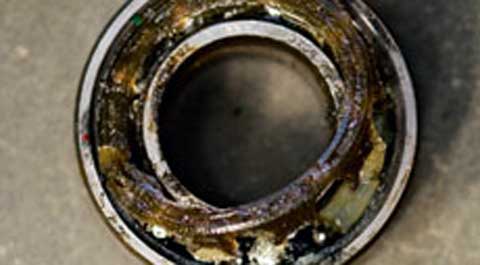
Bearing failure. A refurbishment usually calls for a new set of discs and bearings to be fitted. Checks can reveal disc movement and bearing wear. Over-greasing could result in damaged seals and early bearing failure; grease every 800ha.
Disc wear
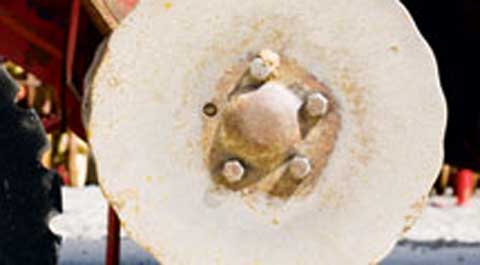
Disc wear. A new disc has a diameter of 410mm, this worn one has considerably less and needs to be replaced along with all the others – they all need to be the same size to operate effectively.
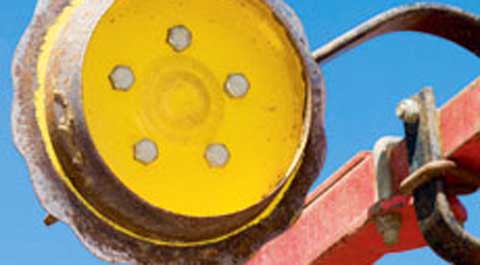
Bout marker switch
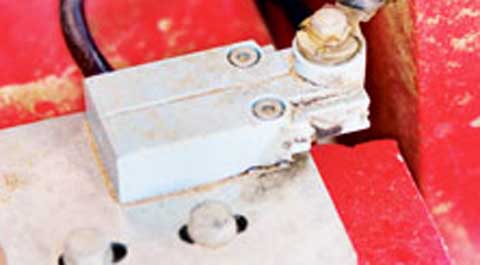
Worth checking the action of this switch which, when the drill is folded for transport, isolates the bout markers and prevents them from being opened – with possible catastrophic results.
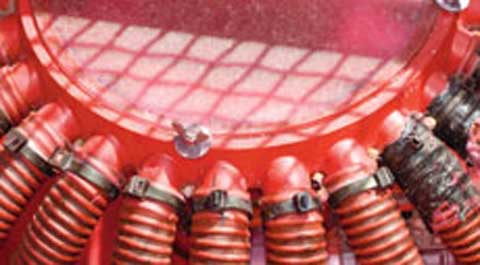
Check seed pipes
Seed pipe chafing can lead to loss of air pressure and blocked pipes. Vaderstad puts an outer pipe on the last couple of metres to provide greater protection.
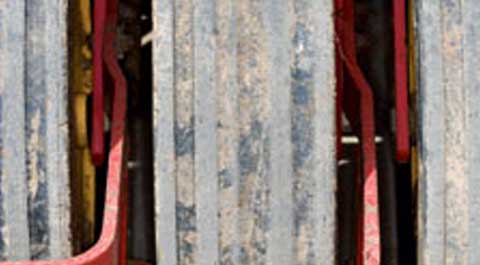
Coulter disc
The coulter disc setting is critical. The bottom of the coulter should not be lower than the disc, as it is here. In this example, the coulter has been raised to its maximum position to compensate for disc wear. All need replacing.
Metering system
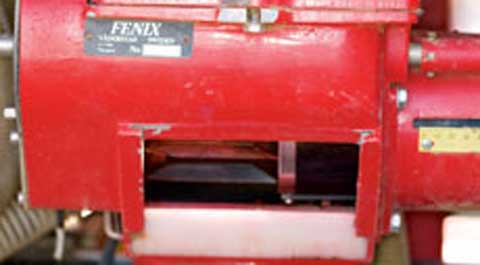
The metering system is the heart of the drill and needs checking. A good clean-out to ensure flutes are up to capacity is required along with a check to see if the brush and rubber strip have been damaged.
Tyres
Tyres – ribbed on this drill, but staggered with chevron grips on later models – need to be free of cuts and inflated to a pressure of 35psi. A refurbishment will see all these replaced, to ensure even depth and consolidation.
Depth control
Each tyre is responsible for the depth control on two coulters across the width of the drill. Its ability to follow ground contours is important – check the condition of the fork axle bushes and replace if worn.
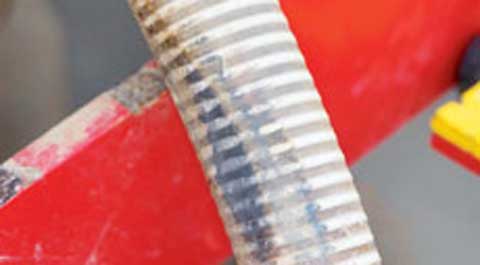
Hydraulic pipes
Hydraulic hoses should be checked for leaks and ram seals need to be intact. It is also important that the hydraulic cylinders have even adjustment on the system disc/crossboard and rear wheel beam.
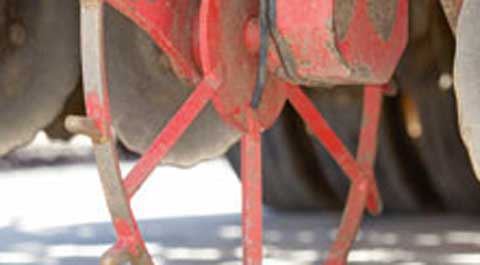
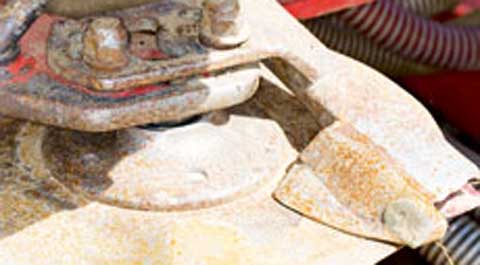
Marker discs
The stress forces on a marker disc and arm can be considerable, so check for twists and bends along with bearings and bushes. Replace as necessary – for this drill it’s a new marker disc.
Seed distribution head
The seed distribution head should be reasonably trouble free, but a blow out of the pipes and to clean off the tramlining flaps should be at the start of the seasonal maintenance list.
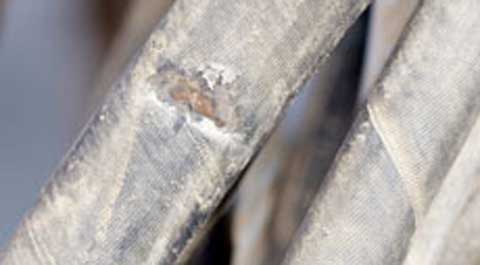
Drawbar
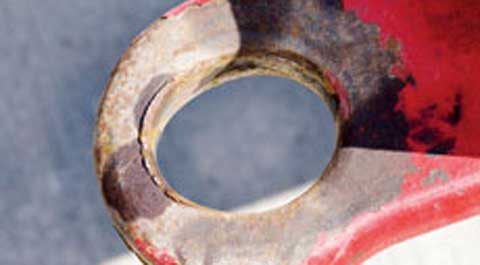
This drill has planted seed over more than 25,000 acres – no surprise then that the drawbar pin hole has become badly worn. It could be built back up with weld, but a new drawbar is the more likely solution. Drawbar bolts need to be checked for tightness and condition.
