
Video: How to sample your soil for analysis
The quieter winter months are a prime time to get a snapshot of the state of soils and consider any adjustments to maximise fertility and crop potential.
Unlike most other routine jobs on an arable farm, soil sampling needs to be done by hand on a field-by-field basis. This offers a great opportunity to walk and study the land you work with.
Sampling soils is not a regular task, so making sure it is done correctly is critical to build an accurate picture that can then be used as a basis for key decision-making over the next three to five years.
See also: Video: Ultimate guide to good slug pellet application
We teamed up with Chris Puttick, regional account manager at IPF UK, a precision farming service provider based in Swindon, Wiltshire, to find out how to carry out soil sampling the right way.
Mr Puttick demonstrates how to sample soils ready for testing that will reveal vital signs such as pH, phosphorus (P), potassium (K) and magnesium levels.
Watch the video below and then check out the step-by-step guide for easy-to-follow, best-practice instructions.
Step 1: Know your soil types
© Jason Bye
Before you start sampling on a field-by-field basis, it is very important to know the variations in soil type within that field. Where there is variation in soil type, there is also likely to be variation in nutrient levels.
To get a truly accurate reflection of what is going on below the surface, a representative soil sample needs to be taken from each soil type in a field.
If there are three areas of a field with varying amounts of clay content, for example, you will need to take sub-samples to make up a bulk sample from each of these zones.
Step 2: Simple tools
© Jason Bye
Soil sampling is fairly low-tech compared with other jobs on an arable farm, which could be a positive or negative depending on how you like to work.
All you need to sample your soils is a standard soil-sampling auger, also known as a corer, and a wedge of large, sealable, clear plastic sandwich bags.
See also: How to calibrate your slug pellet spreader
Depending on the system of field mapping you use, you may also need a smartphone or tablet to make sure you are taking samples from the correct areas of the field.
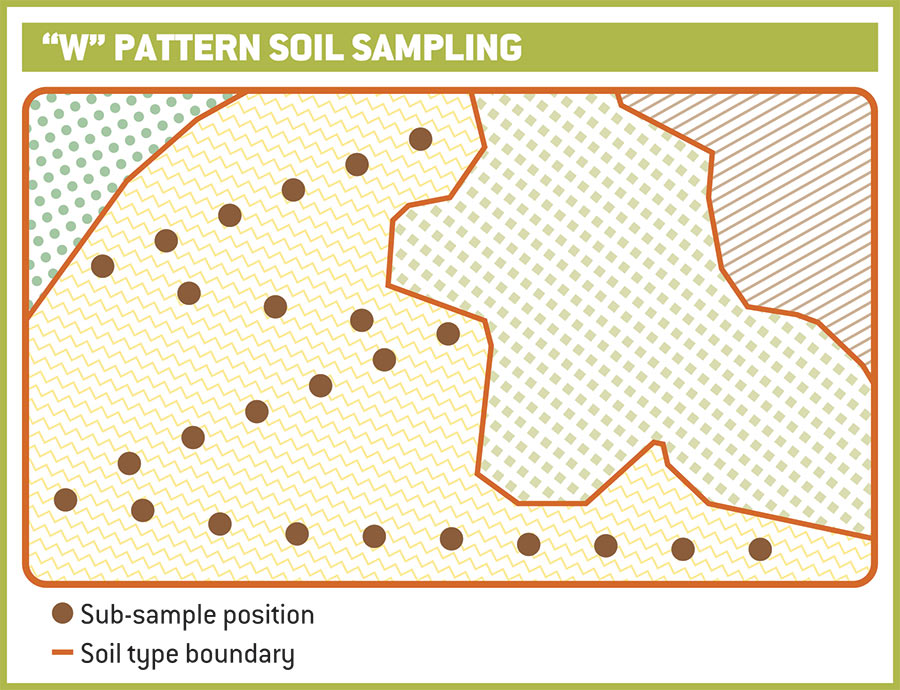
Step 3: Have a plan
Scientific research has found the best way to get a representative sample for each of a field’s soil types is to use the “W-pattern” method, taking 25 sub-samples.

© Jason Bye
Before heading out into the field, sit down with a map of the area you plan to work and plot roughly where you plan to take each of the sub-samples to avoid mistakes being made and time being wasted while on foot.
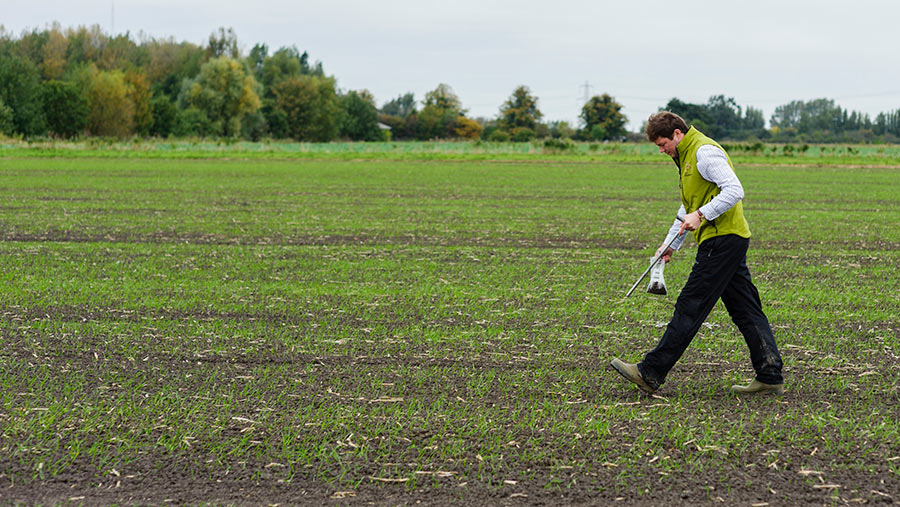
Step 4: Get stuck in
© Jason Bye
Soil conditions are not all that important for basic sampling work, so moisture levels will not affect results. It is best to take samples before any manure or anaerobic digestate is applied, as this will sway the results significantly.
© Jason Bye
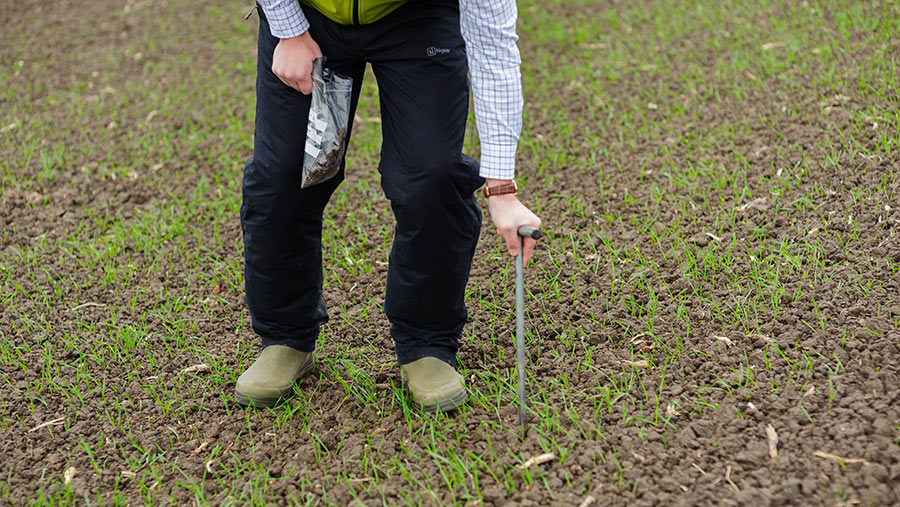
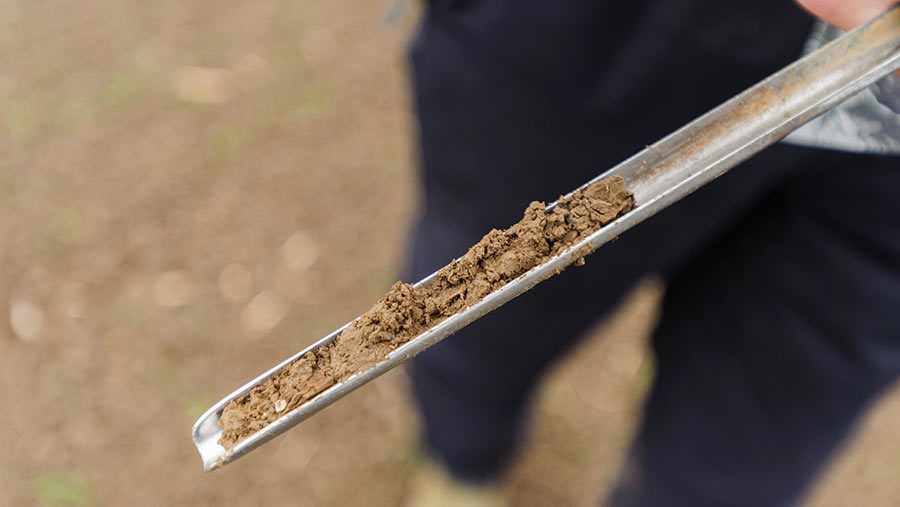
Take 25 core or sub-samples in a W- or zig-zag pattern across each of the soil types in the field. To gain a sub-sample, push the auger about six inches into the ground, twist and remove a small column of soil.
© Jason Bye
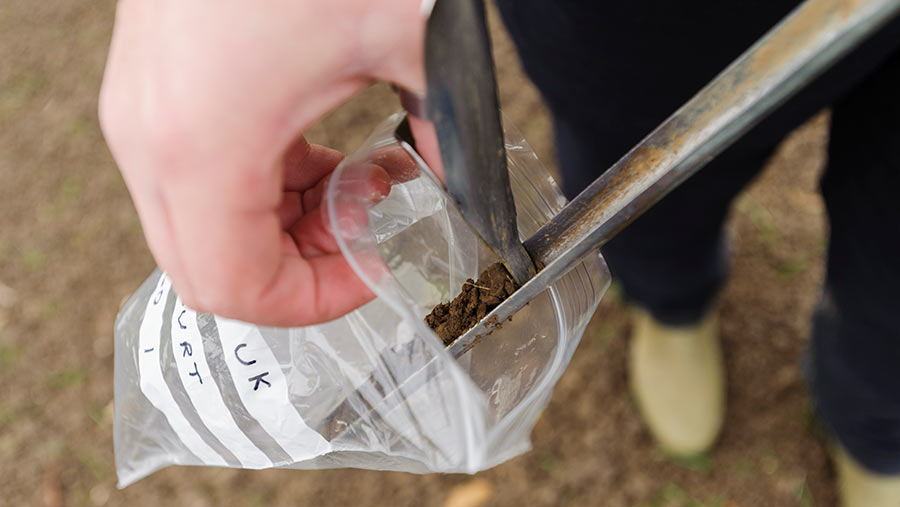
Scrape the sample off into a prepared plastic bag and repeat the process until 25 sub-samples have been taken across the soil type.
© Jason Bye
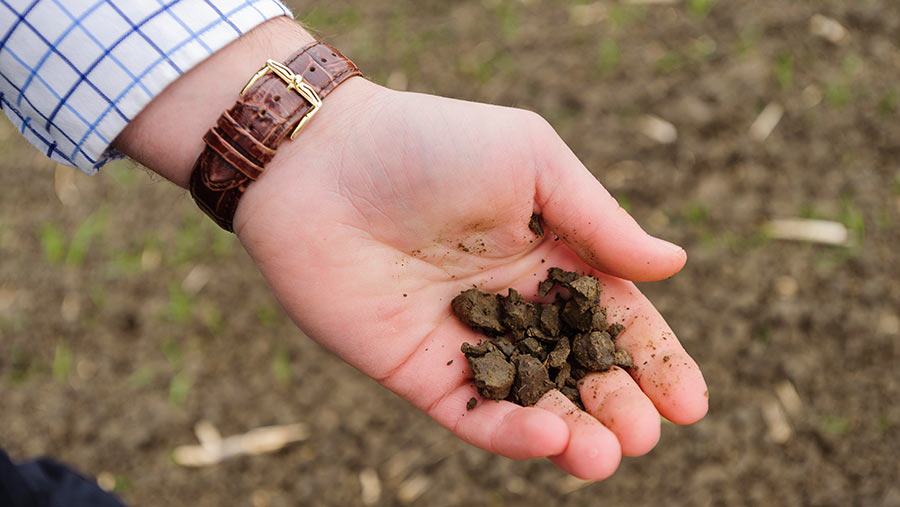
Step 5: Check the bulk sample
Once 25 sub-samples have been collected into one bag, be sure to check the bulk sample for materials that could skew the soil test analysis.
For example, rabbit droppings will affect the soil indices result that come back from the lab.
© Jason Bye
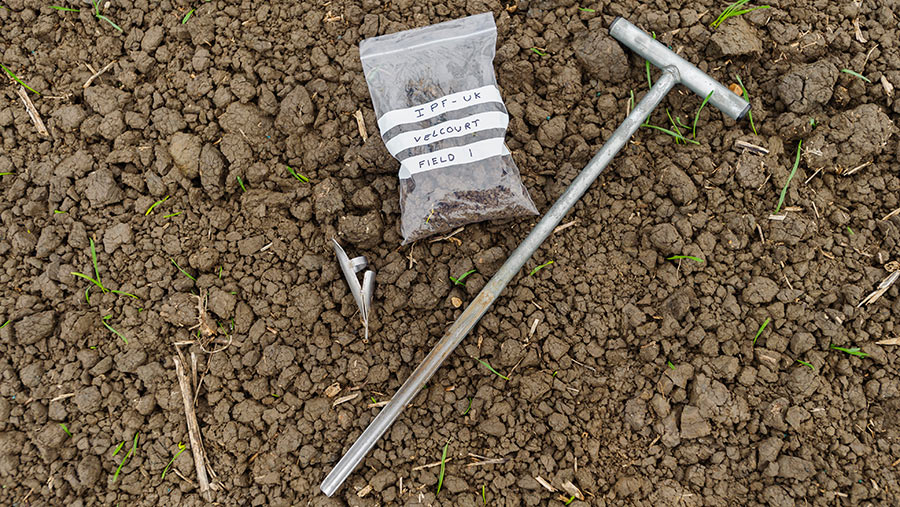
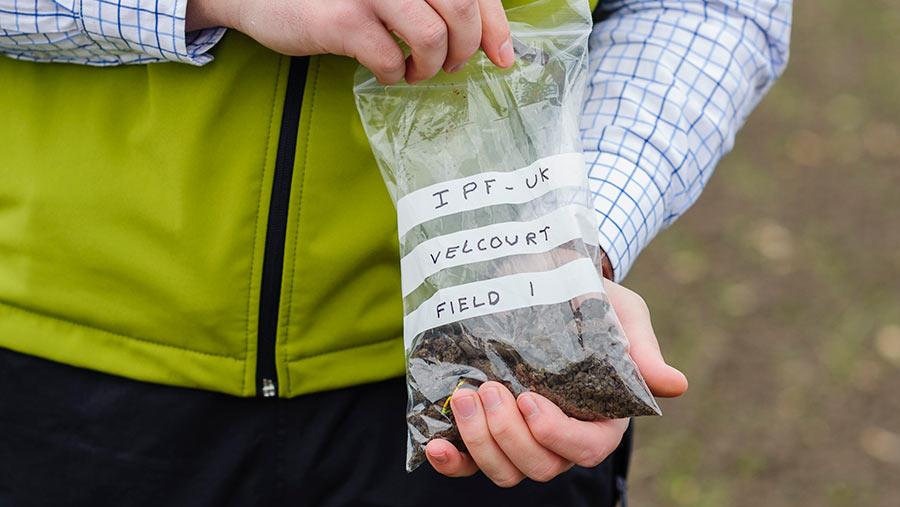
While it might seem common sense, it is worth double-checking that each bag is labelled correctly to prevent confusion or misinterpreted test results.
Store the samples at room temperature and deliver them to the lab as soon as possible.
Step 6: Crunch the numbers
© Tim Scrivener
The data you get back from the lab will need crunching before it can be of much benefit. Identify problem areas and deficiencies in certain nutrients and use this to build a prescriptive variable-rate application plan to keep your soils fertile and crops healthy.
