
Step-by-step guide to carrying out routine fresh cow checks
 © FLPA/REX/Shutterstock
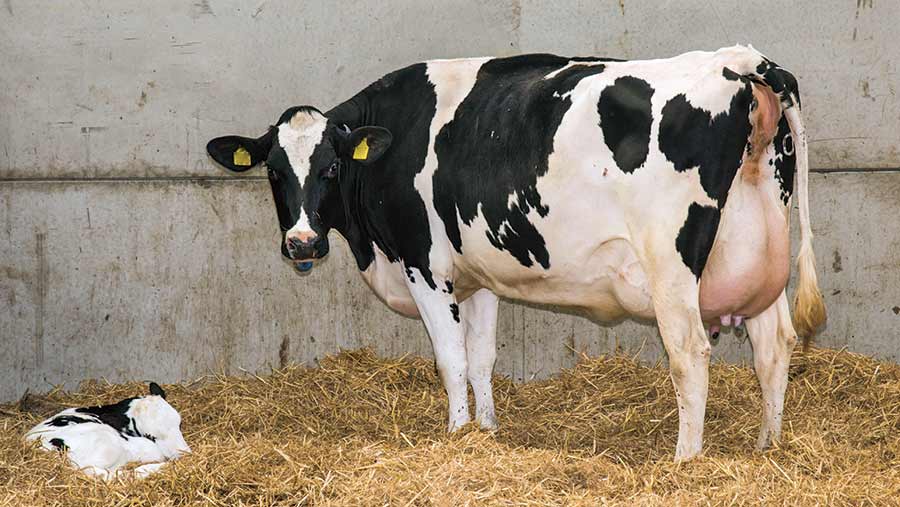
 Routine fresh cow checks should be given as much priority as regular heat detection if farmers want to ensure cows get off to the best possible start post-calving.
How well a cow transitions into the next lactation is strongly linked to dry cow management, far in advance of calving itself.
However, how that cow is looked after in the first 30 days post-calving plays a significant factor in future performance. Vet Paddy Gordon, of Shepton Vets, believes the first seven days are particularly crucial.
See also: Strict monitoring of freshly calved dairy cows helps improve transition health
“Performance in the first week of lactation determines performance in the next 300 days, so you have to get the cow set up right in the dry period and make a good transition at calving and immediately after.
In an ideal world you need to spot problems early and that’s where fresh cow checks come in,” he explains.
He urges farmers to put time aside in their day to carry out such checks. Vet Helen Rogers, from Friars Moor Vets, is in agreement and believes most checks can be “easily standardised”.
She advises putting together laminated protocols and sticking them up in the calving yard.
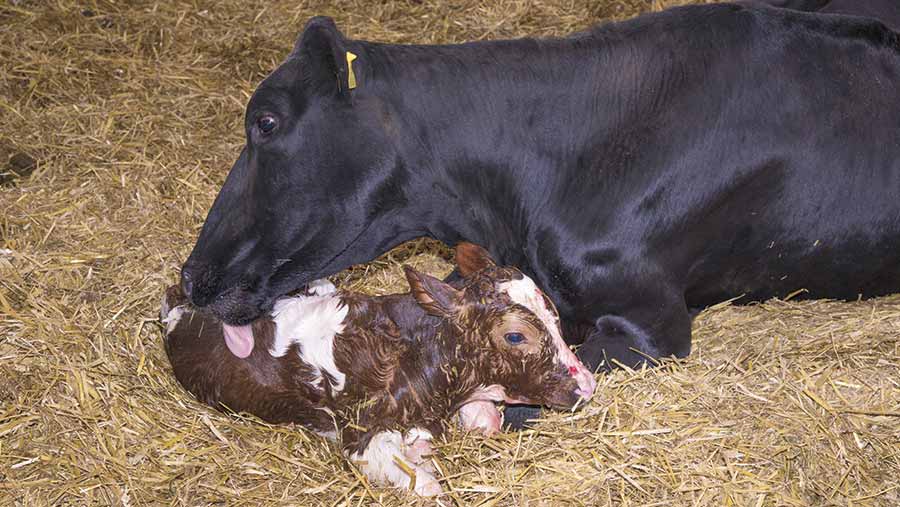
© John Eveson FLPA/Rex/Scrivener
They outline which fresh cow checks to follow on farm in an easy to follow step-by-step guide:
1. Monitor animals closely after calving
All cows should be provided with the milker’s ration and fresh, warm water or a calving drink immediately after calving. Then consider the following:
- Can the cow get up? Look for nerve damage (ie. knuckling over at the fetlock)
- If it’s been a difficult calving, administer pain relief
- Look for signs of hemorrhaging
- Collect colostrum cleanly and as soon as possible
- Check udder for signs of mastitis
- Look for signs of milk fever (ie. not eating or drinking, lack of interest in her calf, recumbency, a “swan” neck and/or tongue sticking out)
- Assess gut health – a cow should have good rumen fill within 12 hours of calving and should also be ruminating
Appropriate treatment and preventative protocols should also be in place following discussions with a vet. These should be included on any written protocol and the whole farm team made aware of them. For example:
- For a cow with nerve damage – keep her on loose straw and administer pain relief
- Milk fever prevention – give at risk cows, such as third-plus calvers, a calcium bolus at calving
- Milk fever treatment – administer calcium into a vein
2. Run a fresh cow group/identify fresh cows
On farms with suitable space and labour, keeping a dedicated fresh cow group for three to four weeks post-calving can help staff to keep a close eye on these at risk animals.
However, this does require capacity and very good facilities.
If this is not achievable, clearly identify fresh cows in the herd by using stockman spray, tail paint or chalks, so the farm team know where to target their attention.
3. Assess cow behaviour
In the first seven days after calving, use good stockmanship skills to assess cow behaviour.
Is the cow’s behaviour normal? Does she have good rumen fill and a full udder and is her faeces normal? Such observations play a crucial role in picking up issues early.
For example, in a fresh calved heifer that’s struggled to adapt, you may see her standing apart, with her tail head raised due to the pain of calving and with an empty rumen. If you act early, it can make a real difference to that animal before she gets sick and needs antibiotics or gets a left displaced abomasum (LDA).
4. Test for ketosis and monitor temperature
Any animal that is flagged up as “off colour” should be pulled aside so that a rectal temperature can be taken and a ketone test carried out. Alternatively, some farms with suitable labour may wish to formulate a set routine where such tests are carried out on all animals around day seven post-calving. This strategy will pick up problem cows you may have missed, but is time-consuming.
- When rectal temperature is >39.5C – the cow is experiencing fever or pain. Treatment protocols should be discussed with a vet, but may include non-steroidal anti-inflammatories (NSAIDs) and/or antibiotics
- When ketone tests indicate subclinical ketosis, cows should be treated and investigations carried out to see why problems are occurring (see box)
5. Check uterine health
Internal vaginal/uterine checks should be carried out on any high-risk animals (ie. any animal that has some kind of health event around calving) to check for signs of uterine infection, metritis or endometritis (“whites”). This can be carried out by a farmer or as part of routine vet checks.
There is a risk of trauma or infection so it needs to be carried out carefully and cleanliness is a must to avoid introducing infection.
- Put the cow in a crush or race
- Lift the tail and wipe the vulva with a paper towel
- Insert a clean, gloved hand and take out any mucus
- Assess for signs of metritis (see The Royal Vet College guide)
- Use an antibiotic wash out if infection is present – this requires AI skills so a vet may be appropriate
Cows with retained foetal membranes (RFM) are at particularly risk of metritis. These animals should be entered onto a standardised treatment programme, designed with a vet.
- Day 3 post-calving – examine them, take a temperature and if it’s high, NSAIDs and antibiotics may be appropriate
- Day five – If the RFM are still present, removing them may be appropriate. However, increasing evidence suggests they can be left to clear themselves. If you are leaving them, monitor cows carefully and follow a protocol designed with a vet.
6. Use vet checks
All cows should be presented to the vet three to four weeks post-calving so they can be checked for metritis and scanned to see if they have ovulated.
Within a month of calving, 100% should have cycled and have a corpus luteum (a structure formed as part of ovulation).
7. Track performance
At a basic level, if you record yield, draw up a list of fresh cows on the computer system and monitor performance in the first three weeks. If cows aren’t hitting targets, ask why.
Farms with automated activity and rumination monitors can also draw up fresh cow reports and look at additional cow data to monitor performance. For example, low rumination rates may indicate a sick cow, while poor activity may suggest a cow is not getting up to eat or she may be lame or ketotic.
Ketone testing
Ketone testing gives an indication of whether a fresh calved cow is suffering from sub-clinical ketosis.
Ketosis is caused by excessive mobilisation of body fat reserves, leading to high ketone levels in the blood.
Sub-clinical disease is more common than clinical disease and will lead to depressed yields and health and fertility problems.
Ketone monitors
These are human kits, easily available online or through a pharmacy. A drop of blood is taken from the tail vein (vet training advisable) and placed on an electronic strip in a hand-held device.
An electronic display then gives a readout of the level of betahydroxybutyrate (BHBs) in the blood. A reading of >1.2mmol/litre suggests sub-clinical ketosis.
Ketotest
A ketotest uses a milk sample to assess BHBs. Milk is put on a test strip. The degree of colour change then indicates the level of ketosis.
A reading of 100 suggests the cow should be monitored, a reading of 200+ suggests the cow should be treated for ketosis.
Treatment and actions
Cows that test positive for sub-clinical ketosis should receive propylene glycol and vitamin B12.
When more than a quarter of cows tested are positive, ask why. Is it dry cow housing, nutrition and/or cow body condition, for example.
Ketone testing can also be carried out as a surveillance measure to track transition success. This is particularly relevant when any changes have been made to nutrition or management.
Royal Vet College guide to endometritis
1. Vaginal mucus colour
0= clear or translucent mucus
1= contains flecks of white or off-white pus
2= <50% white or off-white material
3= >50% containing white or yellow pus
2. Odour
0= no abnormal odour
3= fetid odour