
How to build a quality machinery shed on a sensible budget
 © James Andrews
 As a general rule, farm machinery sits last in the pecking order when it comes to bagging precious shed space.
And when it does get a roof over its head, it often has to pile into whatever old buildings, lean-tos and corners are available, like metallic tinned sardines.
This will never be the order in which it is next required, resulting in frenzied shuffling every time a machine is pressed into service.
See also: Harvesting rainwater: The benefits and how to do it on your farm
Dedicated storage is therefore top of the wish list for any farmer or contractor that takes a pride in their equipment and wants it to stay in prime condition.
Not only that, but there can be notable financial rewards come trade-in time if paintwork is still somewhere near factory-fresh condition.
After years of having virtually nowhere to keep his equipment in the dry, Cumbrian-based contractor, fabricator and shed builder Graham Hayllar bit the bullet and did something about it.
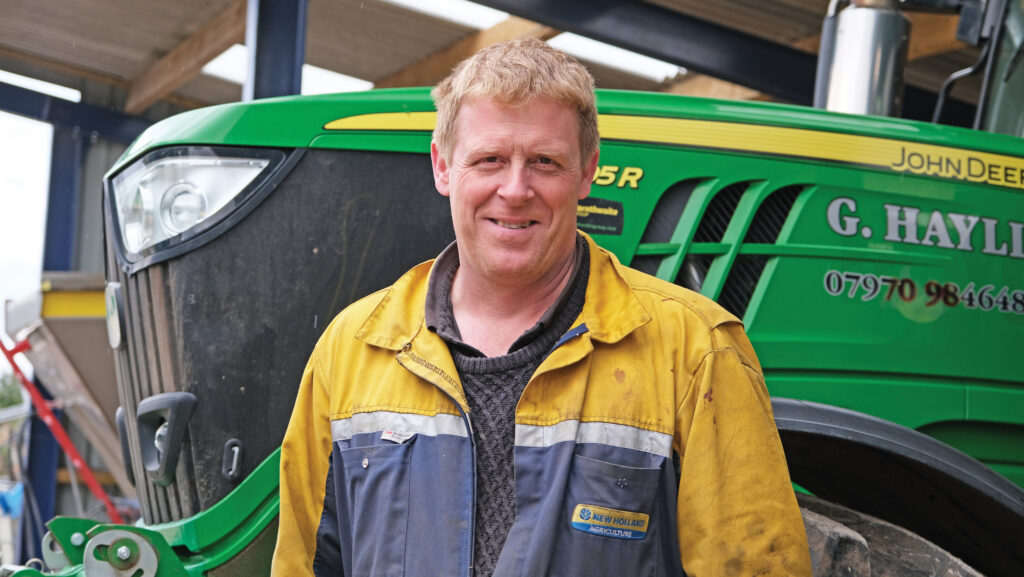
Graham Hayllar © James Andrews
To make the most of the limited space available he opted for two different structures, the first of which is a simple, single-bay-deep implement store with a mono-pitch roof.
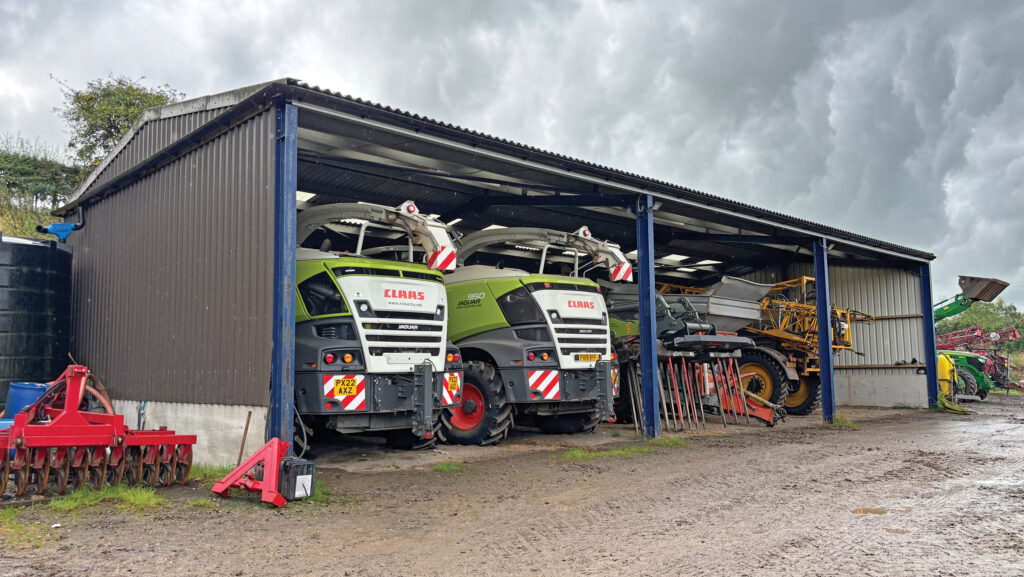
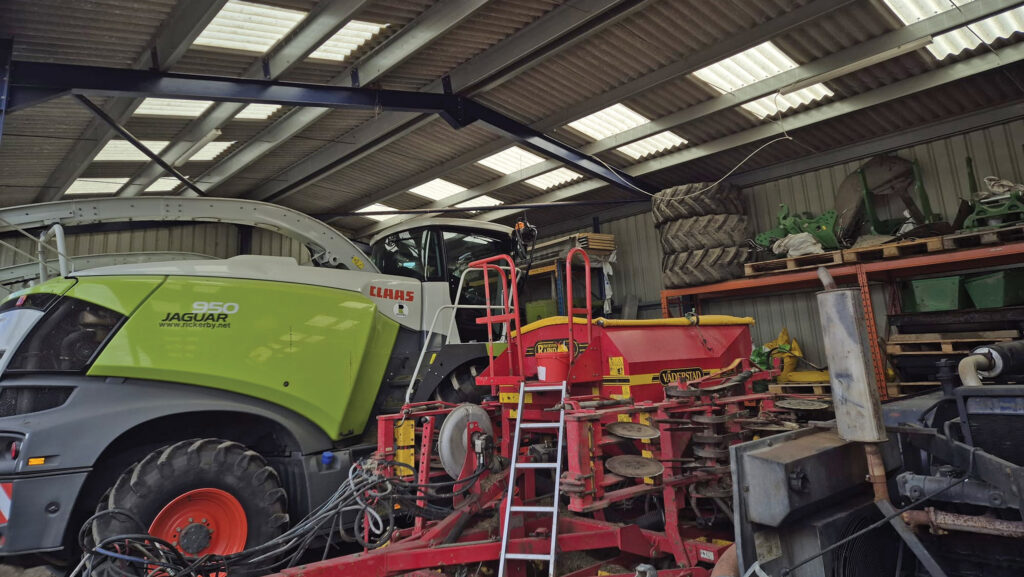
The other is a clear-span building for accommodating larger items, such as his twin Claas Jaguar foragers and Multidrive sprayer.
In both cases, they were orientated to give access from the side, with every bay open for peak efficiency when driving in and out.
His ability to build the frames in-house was a big factor in keeping costs down, but roofing and walling materials were also carefully considered, both in terms of performance and cost.
Clear-span building
The clear-span building is the primary machinery store, so was built as large as the yard space would allow.
Depth is 9m (30ft), it measures 4.6m (15ft) to the eaves, and there are three 7.3m (24ft) bays along its length.
These are wider than usual to minimise the number of uprights and allow two large machines to be parked side-by-side in each section.
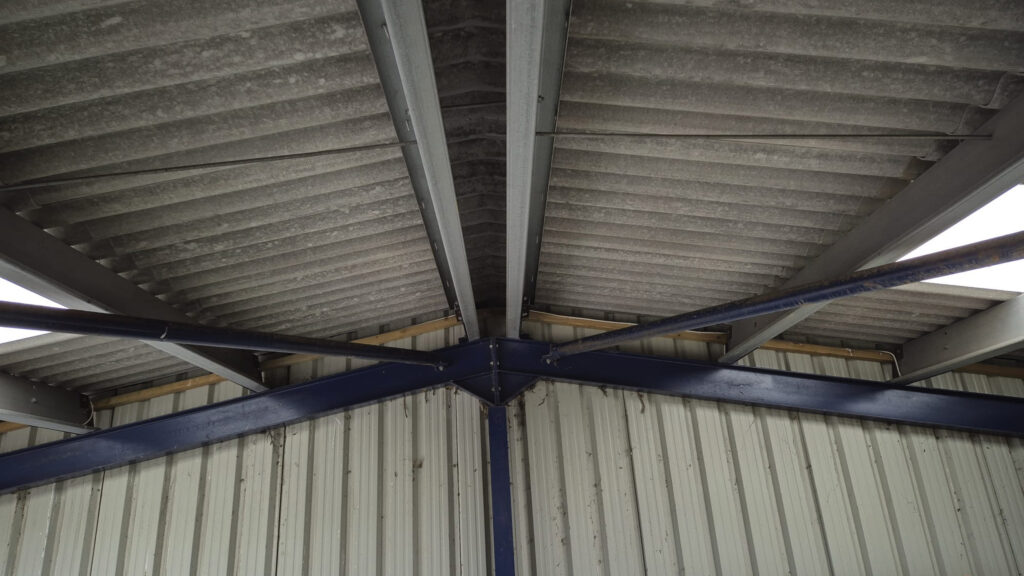
As roof timbers typically top out at 6m (20ft), this meant opting for steel Z purlins instead.
© James Andrews
These weren’t that much more expensive to buy, but they were more difficult to install as they require angled braces to be fitted to achieve structural rigidity.
As for the steel frame, 254mm (10in) RSJs were used for the uprights and 203mm (8in) for the rafters.
Roof materials and guttering
To avoid condensation build-up on the underside of the roof, fibre cement panels – about £12/sq m – were used, rather than conventional corrugated steel sheet.
Membrane-backed metal would have achieved a similar result, but this came in more expensive than the cement and would make the shed hotter in the summer.
“They are easier to fit though, so there might not be much in it cost-wise if paying someone to put the shed up for you,” says Graham.
A total of 20 clear panels were added to provide plenty of natural light and he rigged the roof up with 6in gutters running, via a filter, to a 15,000-litre rainwater harvesting tank.
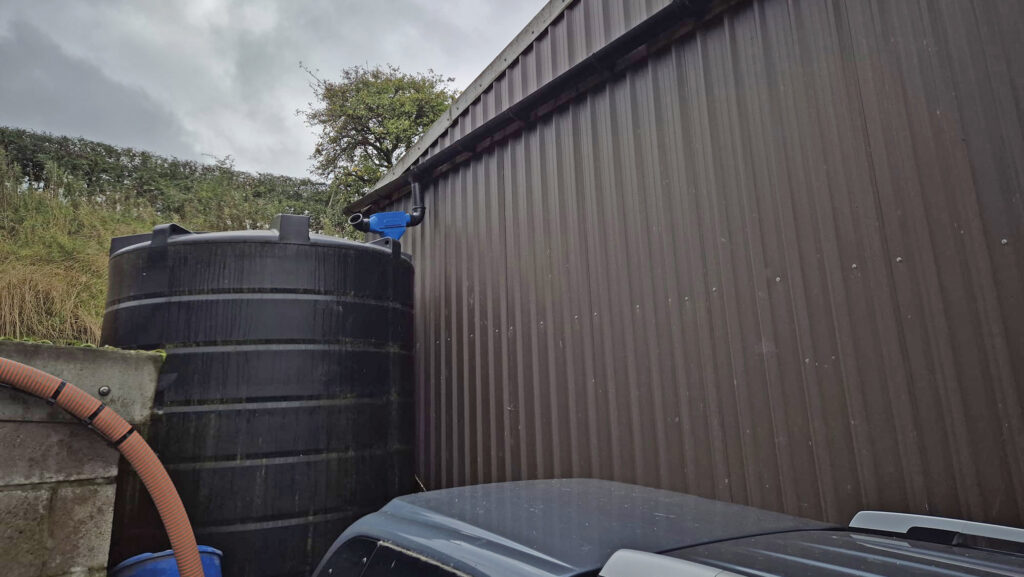
© James Andrews
This is large enough to keep the pressure washer fed all winter, as well as doubling up as a sprayer filling tank.
As his Multidrive can drain the lot in three visits, the tank is also piped up to the mains with a ballcock set to switch off when it’s half full.
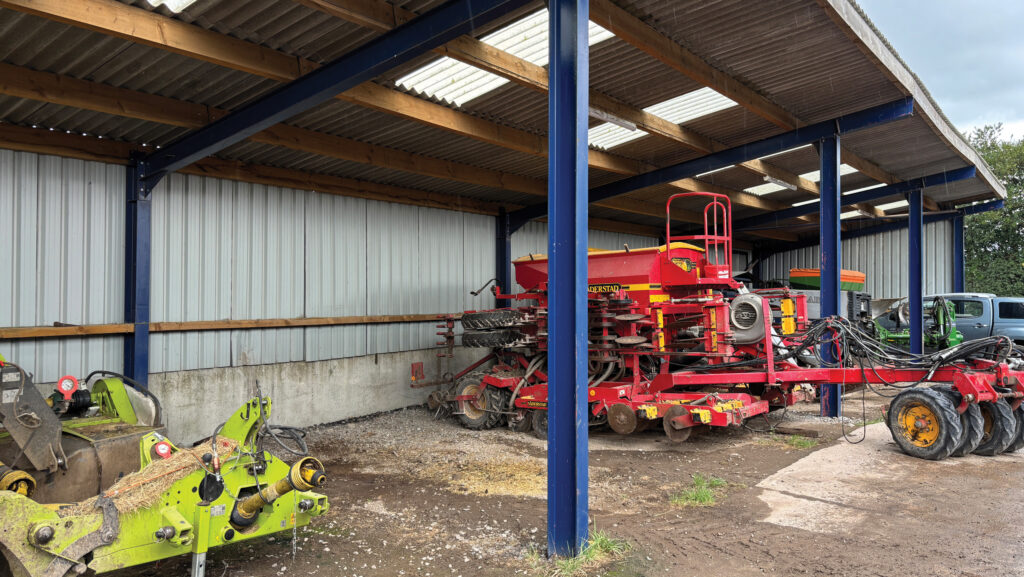
Wall coverings
The shed is enclosed on three sides, with concrete stock panels providing a sturdy and cost-effective base.
“You don’t need anything thicker for a machinery shed, they only cost about £230 each and they’re tough enough to stand the odd tyre rub.”
Above this, he fitted coated corrugated sheeting, which was the most sensibly priced option, as well as being quick to put up.
Yorkshire boarding would have been more expensive, taken longer to erect and the gaps between the boards would have let the wet in.
As the front of the shed is open, it would have ideally been orientated with its back to the west for peak weather shielding.
However, the shape of the yard meant the open side had to face north, causing the wind to whip across the front.
“The rain does come in a bit when it’s blowing a gale, but the machinery soon dries off and I haven’t felt it necessary to fit doors,” says Graham.
“At one point, I did consider getting some Galebreaker-type material for the forager bay that we could roll down in the winter, but we haven’t really needed it.”
Floor
While acres of concrete would be nice, costs were kept down by building the floor out of a thick layer of tar planings.
These came in at about £12/t and were chosen over scalpings as they pack down tight to give a relatively smooth, solid surface.
“It wouldn’t be ideal if we were working on machines in there, but it’s perfectly good for storage.”
Simple lighting has been incorporated too, with an LED strip in each bay and floodlights on the outside to light up the yard.
These are switched manually, as there are other automated lights that cover the area.
Efficient use of space
To make the most of the available storage space, heavy-duty racking is installed on the back wall of two bays.
This is used for stacking parts, seed and small pieces of equipment in an area that would otherwise be wasted.
© James Andrews
Other bays are full depth, allowing a tractor to sit at the front with an implement behind. This means only drivable machines are usually blocking in items of kit.
Total cost of materials to put up a similar shed would be about £17,000, if buying a frame and shopping around carefully for materials.
Ready-made shed kits – several firms offer them – can also be a cost-effective option if the sizes offered suit the yard space available.
Mono-pitch building
Opposite the main building is the mono-pitch implement store, which was built on a patch of made-up ground.
This is 6m (20ft) deep, 4.3m (14ft) tall at the front and 3.7m (12ft) at the rear – it couldn’t be any higher as it would shield a neighbour’s light, but it’s still tall enough for a John Deere 6R 155 to back in.
It then has four 6m (20ft) wide open bays, each of which has the roof overhang to give extra shielding from the elements.
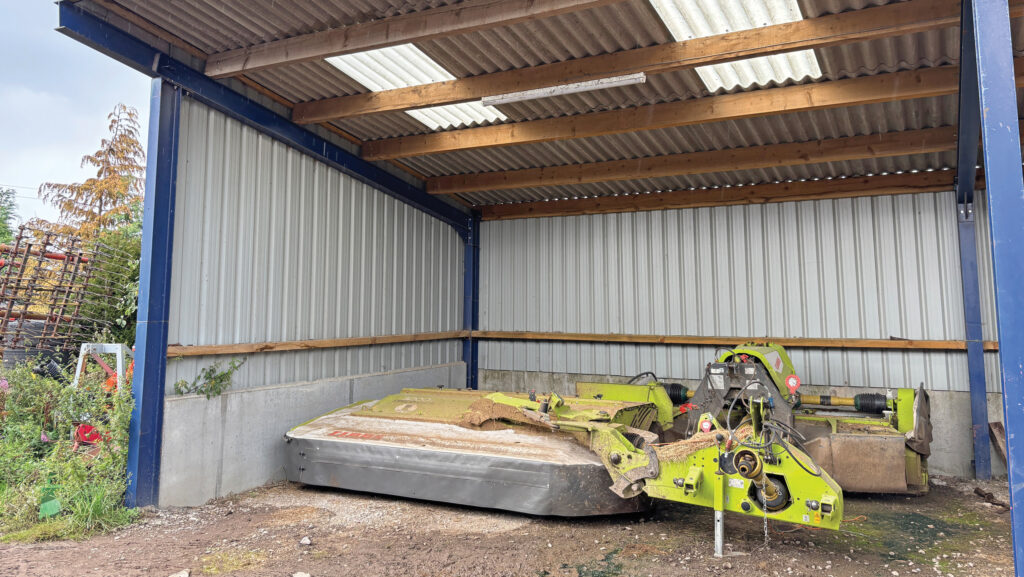
© James Andrews
The simple construction is made up of 203mm (8in) RSJ uprights and roof beams, held together with six rows of 20ft softwood purlins.
As per the larger shed, the roof is covered with fibre cement sheets, interspersed with roof lights, and it has gutters feeding into another 15,000-litre rainwater harvesting tank, along with the workshop.
This is hooked up to a yard volume washer and he plans to get a connector so that fire engines can use it if required.
It also has a tar planing floor, and stock panel/steel sheet combination for the sides and rear.
Each bay has an LED strip light, which is wired into a photocell.
This means they come on automatically when it gets dark, lighting up the yard enough to walk around without the place looking like a football stadium.
© James Andrews
All sections are big enough to accommodate one large implement, or a tractor with small piece of kit, such as a fertiliser spreader, behind.
If building a similar shed, factor in about £11,000 for metalwork and other material costs.
Next building
Plans are afoot to erect another shed in a separate part of the yard, which will have wider front bays than the first.
This will be achieved by building a 15ft-bay structure, with large front “spanning beams” that allow every other upright to be removed.
Doing this will create a series of generous 30ft openings for getting machinery in and out as efficiently as possible.
Most of the structure will be built out of 10in RSJs, with beefier 12in versions at the front to take the weight of the wider spans.
“Front posts are just a pain, so we’ll put as few in as we can get away with, without spending a fortune on ridiculously big steels.”
