Stretch your Land Rover’s life with a new chassis
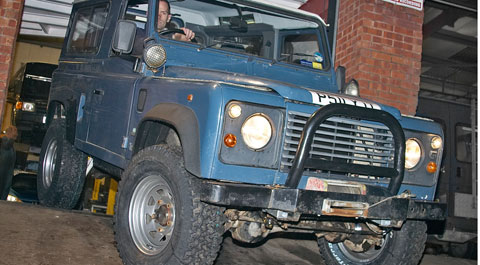
Breathe life into a tired Land Rover with a new chassis – Andrew Pearce sees how it’s done.
When the tin worms bite deep into an old Land Rover’s vitals, the writing goes on the wall.
The letters can be smudged and the MOT man placated by patching over the rot, but sooner or later that won’t be enough. Then there is only the Great Scrapyard in the Sky.
But there is a way out. For about £2,500 you can have a new galvanised chassis, thwarting the knackerman for at least another decade. Spend a little more and you can have other niggles sorted at the same time, saving on labour costs thanks to easier access when the body and chassis are apart.
Sound attractive? Here’s a look at the costs, the cautions and the job itself.
Various independent Land Rover specialists around the country offer a re-chassis service. For this one we revisited AL Services in Poole, Dorset, where the team will change a chassis in two to three days depending on how much secondary work is needed.
The economics of the job depend on what vehicle you already have, or can buy cheaply. An MOT-failed 90/110 or Defender is worth £500-£1000 to a specialist breaker, depending on model.
The 1996 Country 90 featured here had not reached that stage, but the chassis had already been patched and was on its way out. In good order the car would be worth £7000-£8000, so a re-chassis made financial sense.
Farm 90 pickups of the same age with a 200Tdi or 300Tdi engine fetch perhaps £1000 less, but the job still stacks up. To check the economics for your own vehicle, take it to whoever will do the work, ask them to drive/inspect it, and then together itemise the costs.
Proprietor Andy Lanham stresses the importance of gauging the vehicle’s overall condition before taking the plunge, pointing out that the engine bulkhead – the panel holding the windscreen and the front vents – is also prone to rust.
Repair cost here depends on the extent of corrosion.
1. Bulkhead integrity
 |
|
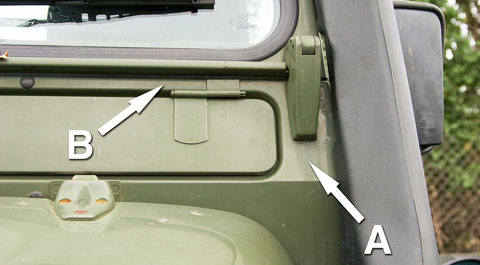
Check bulkhead integrity before committing to a chassis swap, as renewal will impact the economics. Corrosion at [A] is straightforward to patch, but rust at [B] is not. |
Minor rust in the vertical pillars is easily patched, and will not quickly re-surface if the area is subsequently wax treated. But if not has attacked the double-skinned areas by the air vents, then bulkhead replacement is the best way forward. And that can add £1,000 to the final tally, he warns. Other trouble spots – doors, footwell panels – are either cheap to fix or not MOT relevant.
The 90 pictured here had no bulkhead woes, despite having spent most of its life in boat-launch service with the RNLI. But it needed a new clutch (spotted in a pre-job test drive) and other small items. It’s owner decided to add a 50mm (2in) lift to the ride height through longer springs and dampers, a synthetic suspension bush kit, chunkier tyres, and other bits ‘n’ bobs to suit the car better to green lane travel, none of which is needed for farm use.
 |
|
Check bulkhead integrity before committing to a chassis swap, as renewal will impact the economics. Corrosion at [A] is straightforward to patch, but rust at [B] is not. |
2. Drain fluids
 |
|
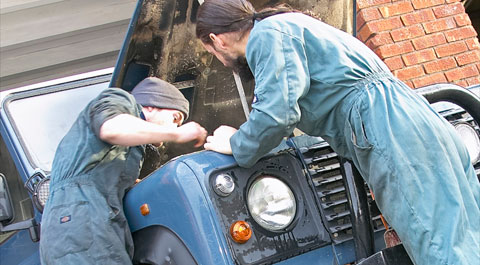
First job on arrival is to drain all fluids. Oils are done on the ramps. |
3. Body and chassis
 |
|
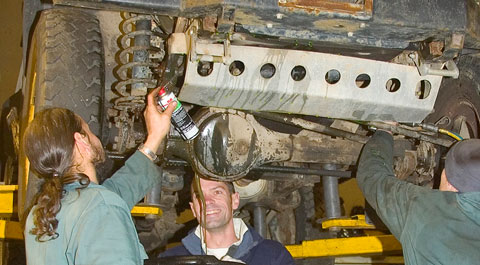
The chassis and body bolt together – many hands make light work of undoing the myriad fastenings, cables and connections. |
4. Lift
 |
|
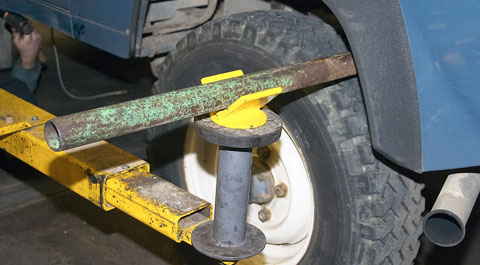
Apart from convenience, a two-post car lift provides an easy way to hoist the body. This support tube has another inside it. |
5. Disconnected
 |
|
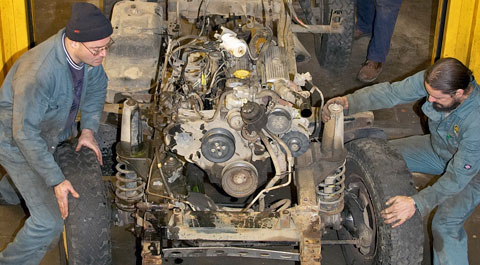
With everything disconnected, the body is lifted carefully away and the old chassis is wheeled out from under. |
6. Steam clean
 |
|
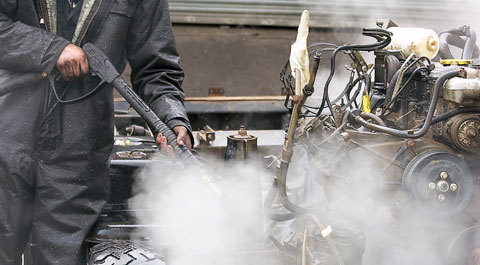
Then the chassis goes outside for a thorough steam clean. |
7. Stripping
 |
|
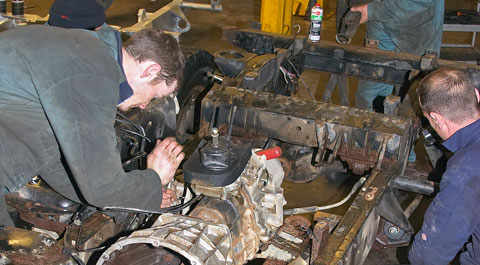
The vultures swoop to strip out the engine, gearbox, axles, fuel tank and all other bits to be recycled into the new chassis. |
Rebuild
1. Axles and spring
 |
|
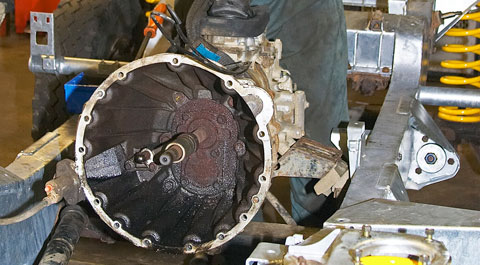
The galvanised chassis has its axles and new spring: Now the gearbox goes in. The engine, complete with a fresh clutch and other oddments, will join it soon. |
2. Rebuilt chassis
 |
|
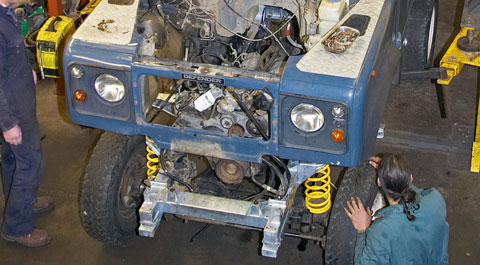
Day two, and the rebuilt chassis goes back under the body. |
3. Ratchet strap
 |
|
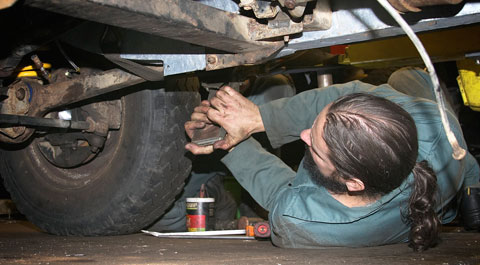
A ratchet strap persuades the chassis in to final alignment. |
4. Alignment
 |
|
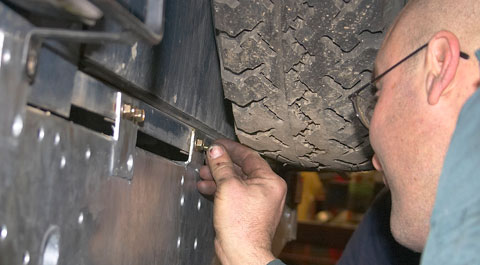
Confirmation of proper alignment. The back body fixings go in easily. |
5. Brake discs
 |
|
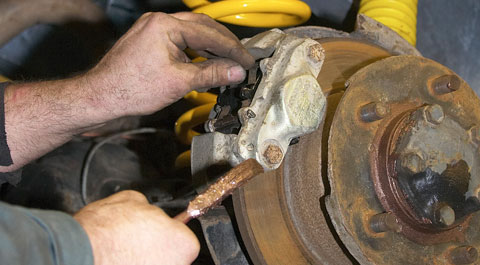
The brake discs are in good order (the surface rust is a steam cleaning legacy) so get new pads all round. Bright yellow springs and damper gaiters are non-standard, high-lift items. |
6. Fittings
 |
|
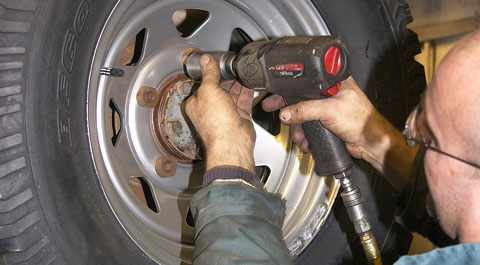
Wider wheels and grippier tyres replace the standard fitments in this rebuild. Nuts will be torque up. |
7.Exit
 |
|
Two intensive days after arrival, the reborn 90 drives out the door. |

