
How to maximise nematode egg kill with biofumigants
 © Tim Scrivener
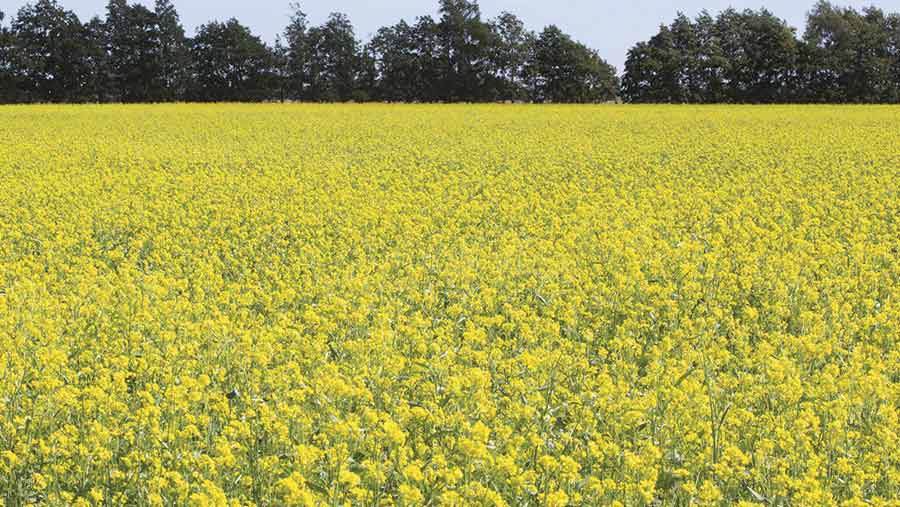
 Treating biofumigant crops like a cash crop by spending money on them when they’re growing and chopping and incorporating them at the right growth stage is essential to maximise potato cyst nematode (PCN) egg kill.
While potato growers will be reluctant to spend big on a crop that has seen variable results and limited uptake, part of the problem is that people are trying to trial it on the cheap, say Harper Adams University reader Dr Matthew Back and PhD student Bill Watts.
This means it isn’t getting a fair chance to demonstrate the potential for a PCN egg kill of up to 70%, says Mr Watts, which can be achieved when a well-managed crop is chopped and incorporated correctly into a warm, moist seed-bed.
See also: How one veg grower uses livestock to improve soil health
While seasonal variation is inevitable, they’ve put together 10 top tips – five for looking after the growing crop and five more on the best practice for incorporation – to help maximise the effectiveness of the crop and justify the additional time and money involved.
Agronomy
1. Timing
If you’re planning to use biofumigants, start planning well in advance. It helps if potatoes follow a crop that is harvested early. Indian mustard is a summer crop – it doesn’t fare well in the cold so it needs to be planted by mid-July to flower in good time.
However, if you happen to be following a veg crop or a fallow, keep in mind it can also be planted too early and can be prone to drought if it grows too big, too soon.
2. Crop selection
Select the correct crop to plant. While rocket, Ethiopian mustard and English mustard are all being investigated as potential killers, much of the research has been focused around Indian mustard.
This species contain high levels of the right glucosinolates in its leaves and roots, meaning that, when chopped, it will quickly release the toxic gases (isothiocyanates) that cause PCN death.
3. Establishment
Don’t fuss over establishment method. It doesn’t need any particular type of drill – biofumigants have been successfully planted by direct drilling, by a seeder mounted on a subsoiler, and even have the potential to be Autocast.
4. Nutrition
Get fertiliser on close to drilling. Indian mustard typically needs 100kg/ha of nitrogen, and 20kg/ha of sulphur. In the unlikely event you’re tempted to put more on, remember that biomass isn’t directly correlated with gas content – the crop can be overfed.
If you have to cut the nitrogen level to comply with NVZ restrictions, keep the sulphur application at a rate of 1:5 with the nitrogen.
5. Clubroot
If you have oilseed rape in the rotation, you may have to take into consideration that Indian mustard is susceptible to clubroot.
The presence of another brassica in the ground could lead to further build up of the yield-sapping pathogen, leading to more problems in your cash crops.
As a brassica, it will also be affected by any cabbage root fly and cabbage stem flea beetle in your area.
Incorporation
1. Soil temperature
This has to be over 10C. In practice this means incorporation should be done by the middle of October.
2. Moist seed-bed
If you have the equipment to measure the water capacity in your field (such as diviner tubes) then soil moisture should be between 75 and 100% – moist, but not sodden.
This is sufficient moisture to seal the surface slightly, stopping the gas released from the plants being lost so rapidly into the environment, while still allowing it to move freely through the soil profile.
Correct moisture content is so critical that irrigation should be considered if the equipment is available rather than waste the crop by destroying it in the wrong conditions.
3. Correct plant growth stage
The plant should be chopped at early flowering. This is the point at which the most glucosinolates are present in the crop in the most accessible state.
4. Use a flail topper
Research has shown this reduces egg numbers by a further 7% when compared with a roller conditioner.
5. Timing
Incorporate immediately at a depth of 300mm or less. Ideally the topper and the incorporation equipment (plough, rotavator, spader) should be front and rear mounted on the same tractor, allowing the plant material to be incorporated within seconds.
If this is not possible two tractors should run immediately one behind the other as chemical discharge from the plant material peaks just two hours after it has been chopped.
