
6 ways to improve autumn soil cultivation regimes
 © Tim Scrivener
 Many operators can be guilty of pulling the cultivator out the shed, heading to the field and cracking on with ground work, with the only parameter of success the sight of the field turning brown behind them.
While this may be OK in some conditions, working with the wrong gear, at the wrong time and at the wrong depth can be potentially damaging to soils and unnecessarily cost the farm money in wasted labour, fuel and wearing metal.
Farmers Weekly asked cultivation experts Simon Brown and Peter Henson of kit maker Amazone to give some tips on how to make the right min-till cultivator and setup choices to get the best results.
See also: £90,000 Koeckerling cultivator proves a hit for Herts farmers
1. Have a clear aim
Before seed-bed preparation begins, it is vital to have a clear idea of what the operator is trying to achieve with each pass and in each field.
Firstly, an assessment of problem areas should be carried out in the spring, with areas of bad drainage, compaction or slug damage, for example, being easily identified where crops are poorly established or struggling.
Looking at well-performing areas with good structure will help gain some context for comparison. During harvest, it should also be noted where harvest traffic has been running.
These investigations can influence what type of cultivations are required and allow them to be targeted exactly where they are needed.
This avoids overweakening soils through, for instance, unnecessary subsoiling, risking even deeper compaction with later operations or working soils too deep, which can cause problems if heavy rain arrives, turning the seed-bed into a “pudding”.
Using a spade to record the depth and severity of compaction will help influence subsoiler setup, working to the necessary depth and helping to minimise fuel use and steel wear.
With regards to problem slug areas, improved residue management may be required through more vigorous mixing of straw and chaff, getting rid of the trashy environment in which the pest thrives.
Don’t forget that residue management starts on the combine, so efforts should be made to achieve a fine chop and even spread across the swath.
Other agronomic problems such as grassweeds should also be considered, with cultivation choice having a significant influence on how seed return is managed ahead of drilling the next crop.
© Tim Scrivener
2. Use the right machine for the job
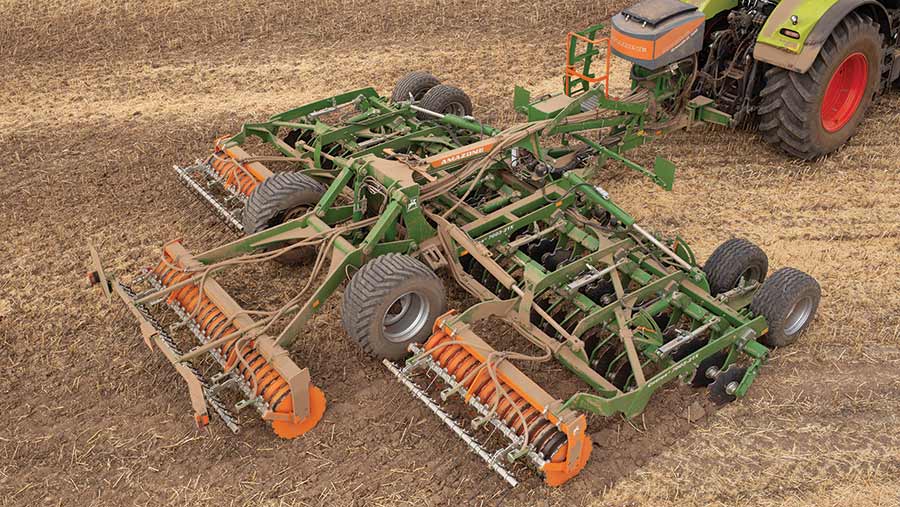
Once the aim of the cultivation pass is established, choosing a machine that fits the job is the next important step.
With the vast array of cultivation equipment on the market, all offering varying degrees of flexibility in operation, it is easy to try to carry out too many jobs in one pass.
Where deep lifting is required, a specialist subsoiler should be used, rather than using a one-pass cultivator with deep tines.
This is because optimal working speeds for surface cultivation with discs or tines and deep subsoiling varies considerably.
Machines with discs need to be travelling at about 14-16km/hour to ensure a good mix and levelling effect, whereas subsoiling wants to be about 6-8 km/hour, depending on how hard it is down there
When managing grassweed seed return, growers may want to avoid mixing seed through the profile by only “tickling” the top 5cm, encouraging a chit for destruction with glyphosate or further cultivation.
Compact disc harrows are best for this purpose, as they follow the contours of the ground at a consistent depth more accurately than tines.
Where grassweeds such as blackgrass are less of a concern and residue incorporation and seed-bed preparation is the aim, tine-based cultivators or disc-tine combinations provide the best options.
It is worth considering what the requirements are ahead of investment in any new cultivation kit, with flexibility to lift different components out of work to suit different aims worthwhile if working across different farms and soil types.
© Tim Scrivener
3. Choose the right setup
Whether using a new machine or old, every piece of cultivation kit will have a degree of flexibility on setup to achieve the optimum configuration for the job at hand.
Having quick-release wearing metal and hydraulic adjustment where possible – to lift tines out of work, for example – will make life easier for the operator and make it easier to make changes based on aims and conditions.
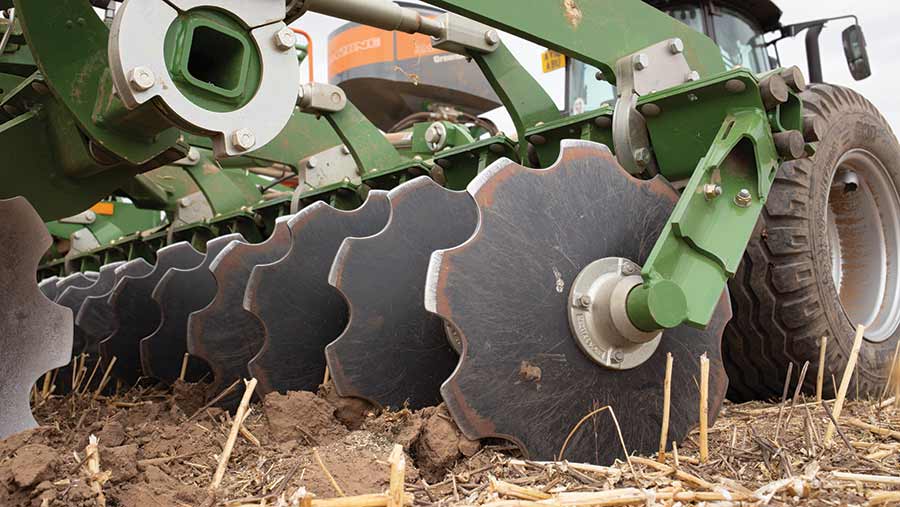
All manufacturers will offer a range of disc options, and matching the right disc to the job is advised.
For surface cultivation with a compact disc harrow, scalloped discs inherently need to be run deeper, so switching to a smooth disc will offer the best depth control – a light “scratch” of the soil surface – the best means of getting a chit of weeds.
Residue management requires more soil movement and a chopping action and is where a scalloped disc comes into play. Some manufacturers offer wavy discs that are also suitable for the same purpose.
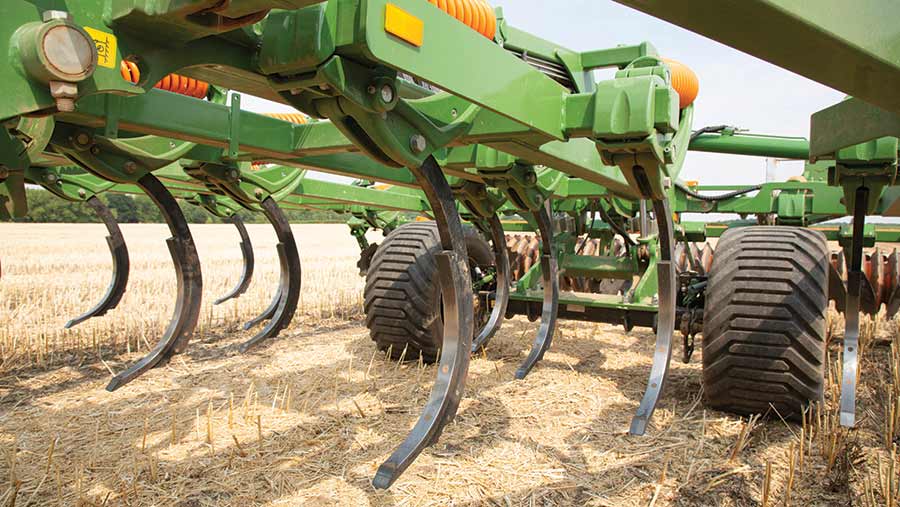
If using a tine-based cultivator, narrower tines of about 40mm are suitable for alleviating compaction below the surface, but for better soil and residue mixing, moving to wider points is advisable.
These points can be in the form of a stubble share or duck foot tine, or in the case of Amazone, 80mm C-Mix points will work at a depth of 15-20cm and lift and scroll material either left or right to mix material and aid residue break down.
Point and wing combinations should be avoided where possible, as the tip of the point and the wings work at different depths and result in uneven work. Using something wide or narrow is best, not a combination of both.
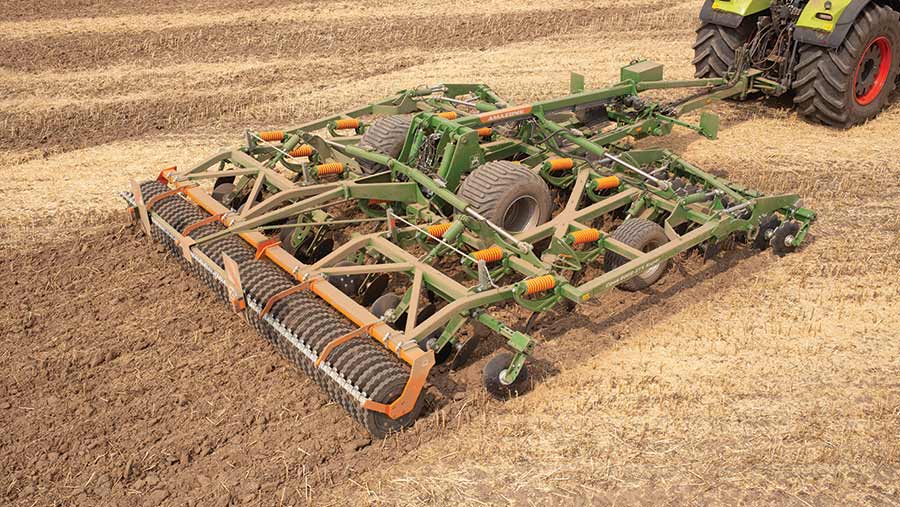
Finally, the finish needs to ensure there is no capping or erosion of the soil and roller choice needs to be correct to reflect this.
Consolidation – and normally consolidation at depth – is key, so it is crucial to have rollers offering strip-wise consolidation with gaps in between the point contact to ensure good water infiltration and allow the soil to “breath” to promote straw breakdown.
Choose a roller that is suitable for the soil type; a heavier roller with a smaller contact area is better for heavy, cloddy soils. A rubber ring roller with a broader contact area will provide a better drive in light land and a more uniform consolidation.
4. Cultivate to the appropriate depth
Depth of cultivation will depend on several factors, with the intended outcome of the cultivation pass being the main one – shallow for encouraging a blackgrass chit or deeper for mixing in crop residue.
Trials have shown that with a tine-based cultivator, going from a depth of 15cm to 20cm will increase diesel use by about 10litres/ha, while offering no benefit to crop yields.
As a rule of thumb, you need 1-1.5cm of tillage depth for each t/ha of straw. Where baling and removing, lighter cultivation will suffice.
This leads to the conclusion that 10cm is sufficient depth, 15cm is more than enough and beyond that is considered “recreational cultivation” that does nothing to improve crop establishment and growth. It is purely for “cosmetic” reasons.
5. Consider soil moisture
Cultivating soil –particularly heavier soil types – when it is too dry or too wet either pulls up large, dry lumps or smears the soil and causes compaction when beyond plastic limits.
Effective cultivation needs to be carried out when soils are shatterable, allowing aggregates to break apart along natural fissures.
Using a spade to investigate soil moisture and plastic limits is crucial to work out if conditions are suitable and what depth to work the implement at.
This will lead to better timeliness and help to take advantage of any moisture if creating a stale seed-bed. Conversely, it will help avoid structural damage caused when working the land when too wet.
© Tim Scrivener
6. Invest in the right kit and operator training
Having a lot of machinery laying around the farm is economically unpalatable for some, but access to the right machine for the job, or at least flexibility of setup – such as different discs, points or tines – will help optimise tillage operations and is an investment worth making.
It is also worthwhile working with staff to help them understand the importance of correct cultivation and machine setup on soil health and, ultimately, the farm’s bottom line.
