
Home-built 6m straw rake saves Northants farmer £10k
 © James Andrews
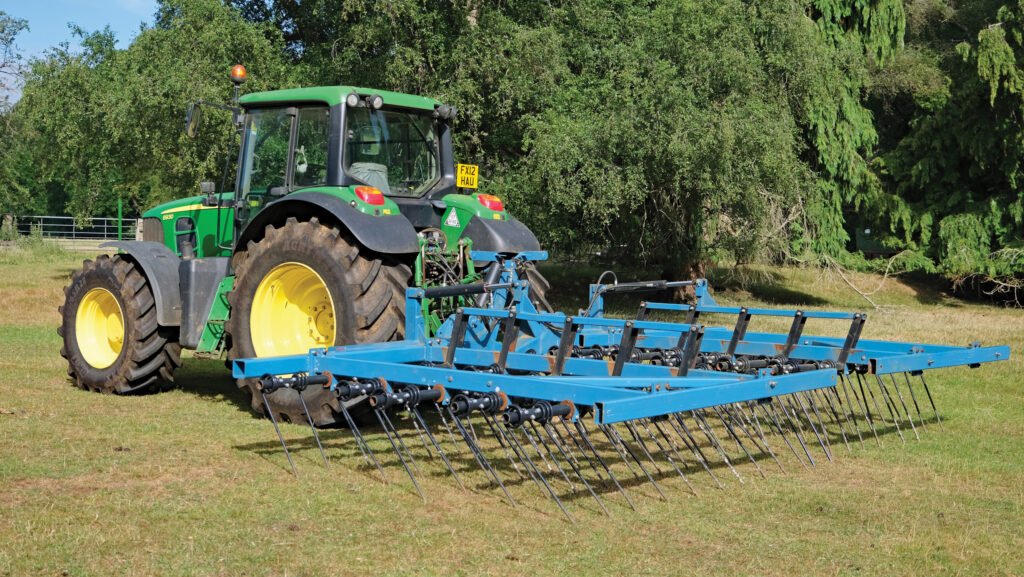
 Having forked out for a 3m Claydon Evolution drill, Northamptonshire farmer Joe Brodie didn’t fancy the extra expense of buying a new straw rake to complete the setup.
So he built one instead. Now in its third season, the rake is holding together well, despite rattling over the ground he farms near Church Stowe several times each season.
See also: How Limavady farmer built ultra-versatile drill on the cheap
“We’ll go over stubbles as many as four times – early passes encourage weeds to germinate and later passes help kill them off,” says Joe.
“Plus, the more times we go through, the more we disturb slugs and their eggs.”
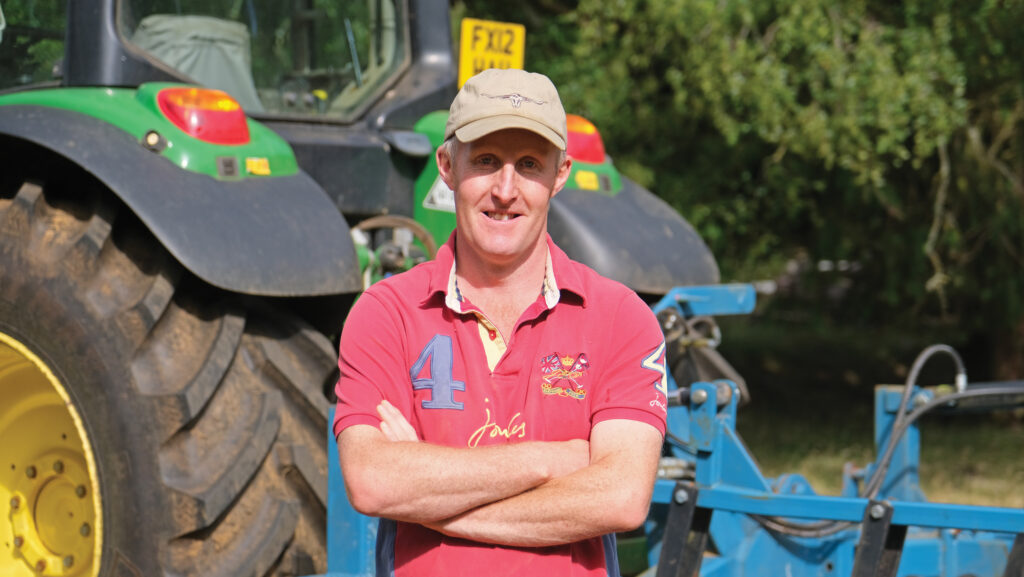
Joe Brodie © James Andrews
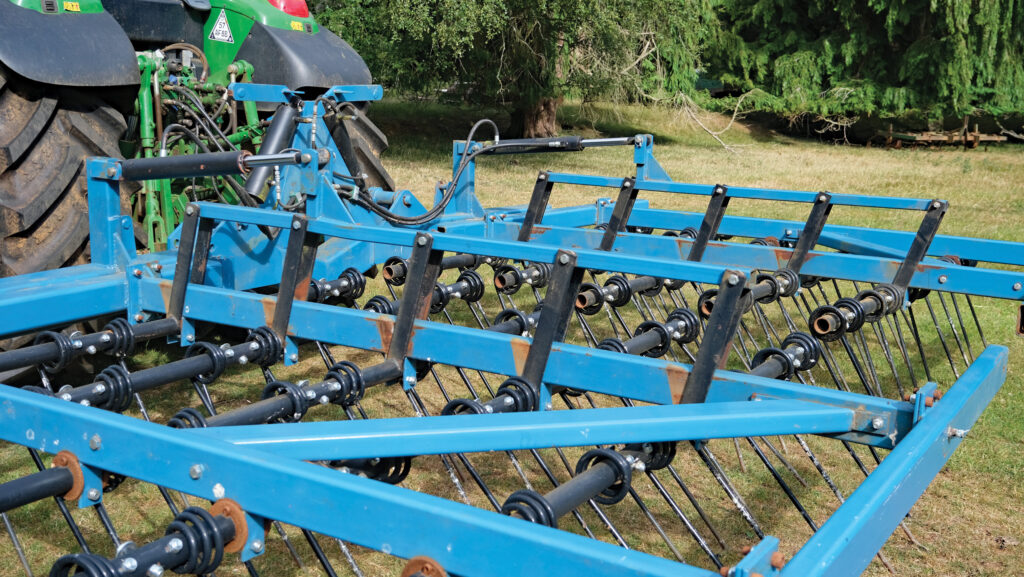
With the heavy frame pushing down on the 16mm tines, it creates a reasonable amount of tilth on the farm’s mixed soils, which range from clay to light loams.
This soil movement means it requires a considerable amount of power on the front.
“You wouldn’t think it, but our 150hp John Deere 6930 has only just got enough power to pull it at 12-15kph,” says Joe.
© James Andrews
Budget build
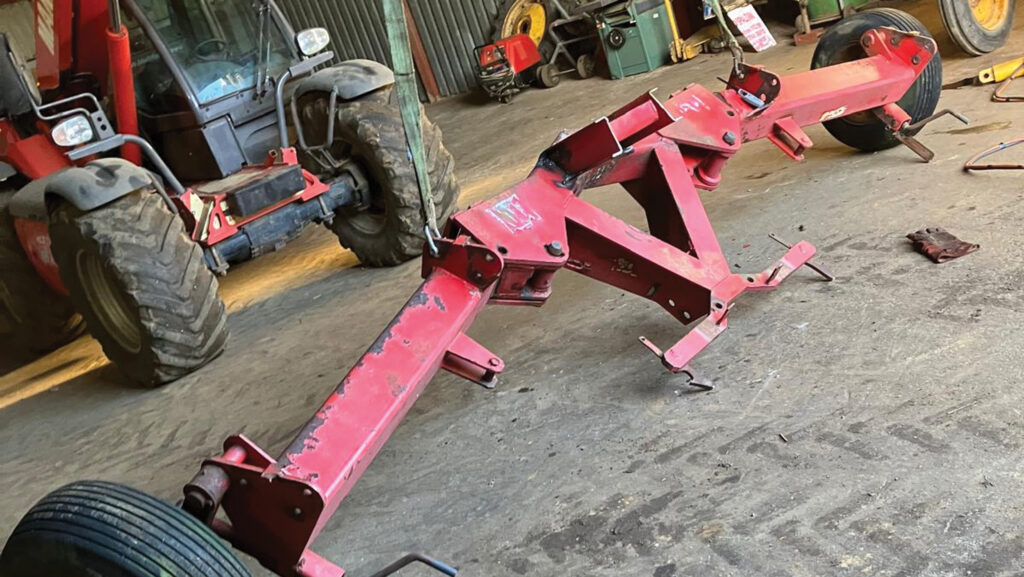
Keen to make the task of building the rake as simple and cost-effective as possible, Joe went in search of a second-hand headstock and folding mechanism on which to base it.
And, as luck would have it, he found a scrap 6m Lely power harrow available locally which was secured for just £300.
© James Andrews
Once the harrows were removed, he was able to begin building a frame to hold the tines – a task made more difficult by the fact that the power harrow headstock had slightly backswept arms.
However, by taking the time to set the fore-aft steels at the correct angle, he was able to get both 3m wing sections square and true.
At this stage, it would have been relatively straightforward to extend the frame to 7.5m, matching the width of Claydon’s version.
But this would have added expense he didn’t feel was necessary for his 120ha arable area.
And Joe opted for bolted connections, rather than the easier option of welding the joints solid.
“I discussed it with Dad and we decided this would put less stress on the frame as the bolts would allow a small amount of flex,” he says.
© James Andrews
Extra strength was introduced by adding a diagonal brace in each of the wing sections, which were also bolted in place.
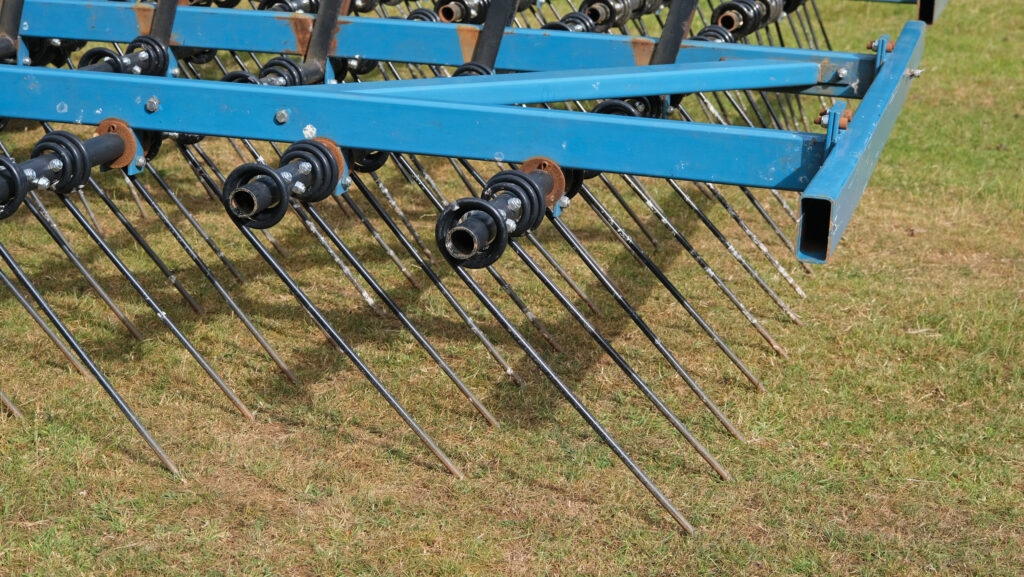
Next, he fashioned some simple clamps under the frame to hold five lengths of tube to which the tines would be attached.
The tines would be his single biggest expense, so he shopped around, eventually settling on Spaldings units.
Not only were these £10 cheaper than those sold by Claydon, they were also slightly longer, which he hoped would extend the lifespan.
Tine attachment
One particularly fiddly task was ensuring all 150 holes required for securing the tines to the tubes were drilled in precisely the right position.
Any inaccuracies here could cause the tines to sit at different angles, meaning they wouldn’t do a consistent job.
Joe took his time to mark out the positions and used a length of bar slotted into the previous hole, along with a spirit level, to make sure the tube was in the correct plane before drilling.
Tine angle adjustment was achieved by welding levers to the centre of each tube and connecting them to a pair of second-hand hydraulic rams, one for each wing.
Extending the rams pushes the tines to a more vertical position to increase aggressiveness, while retracting puts them at a shallower angle.
“In an ideal world, I’d have got the tines to fold completely flat, but the rams don’t have quite enough travel for that,” says Joe.
“It would be a problem if we had to take it on the road, but thankfully our land is ring-fenced.”
The rake was put together over a three-month period, as and when Joe had the time, and the total cost was about £4,500 excluding labour – about a third of the price of a new model.
The biggest single outlay was £2,500 for the 50 double Spaldings tines.
Cheap guidance
To help cover the ground as efficiently as possible, Joe has fitted a low-cost RTK guidance system that allows him to work in perfectly matched lands.
This was bought from Farming Forum user Andy26 for about £1,300 and uses free AgOpen GPS software loaded onto a Panasonic tablet computer.

© James andrews
It picks up a free Ntrip correction signal by tethering to his mobile phone, meaning he has no ongoing subscription fees.
Included in the kit was everything required to create a full autosteer system, including a GPS antenna, printed circuit board and wheel angle sensor.
There was also a steering motor – mounted under the steering wheel using a bracket Joe fabricated – and a 3D-printed gear set.
The pinion gear came attached to the motor, and Joe simply secured the ring gear to the steering wheel using cable ties.
It offers all the functions of systems from big-name manufacturers at a fraction of the price, and is pretty simple to operate.
“I’m not that technically minded and I don’t have any trouble getting it to work,” says Joe.
“That said, I only really use the basics and there are far more complex features for those who want to get the most out of it.”
