
Top tips for chainsaw chain and guide bar maintenance
 © Tim Scrivener
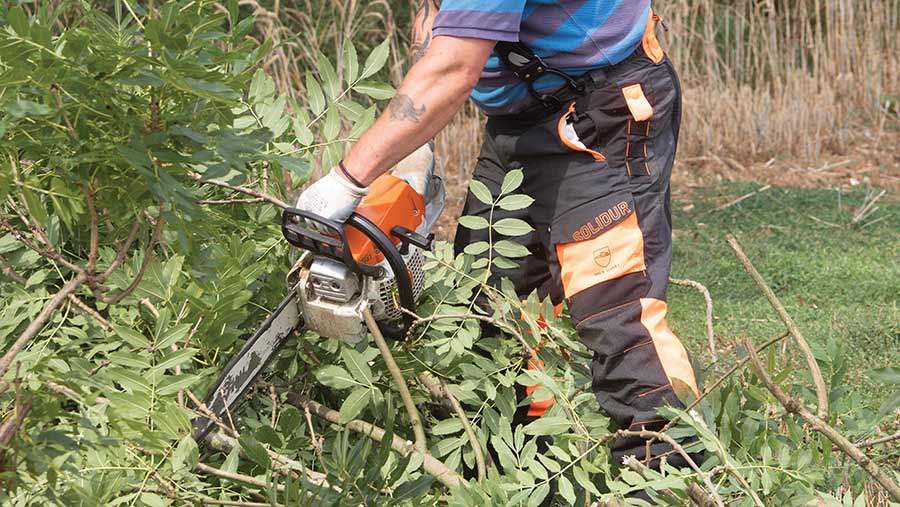
 When a chainsaw is running on point, it will effortlessly buzz through a piece of timber while the operator gently guides it in the desired direction.
This is very pleasing indeed. But get a little laissez faire with the maintenance regime and it won’t be long before the same machine is practically burning its way through.
See also: How to get a chainsaw’s tired two-stroke engine to run
Not only does this make the job take far longer, it uses more fuel, causes premature bar and sprocket wear and can risk overheating the engine.
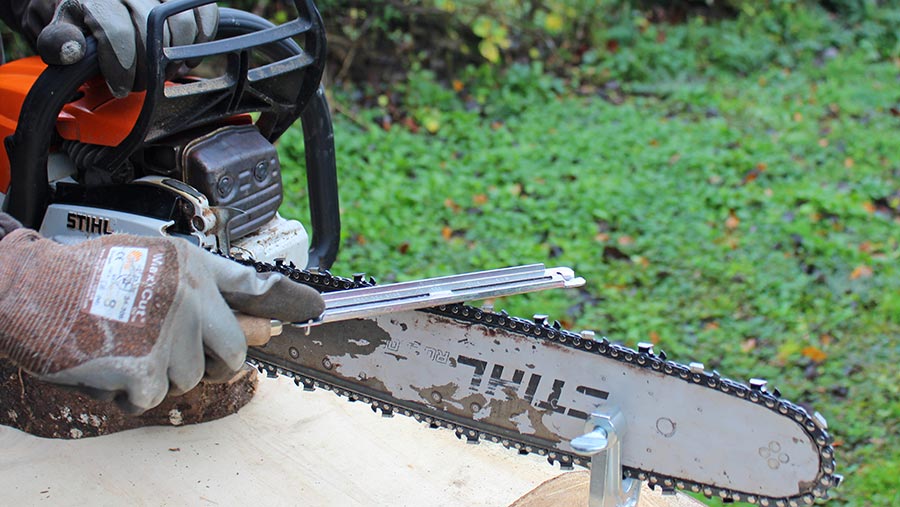
Proper sharpening can be time-consuming and difficult to get right. But with the help of Stihl technical trainer Mark Hellewell, we find out how to do the job properly and efficiently. We’re featuring a Stihl saw here, but the same principles will apply to most brands.
Golden rules
- Use a good-quality chain lubricant, not used engine oil or vegetable oil
- Check the chain tension often and never allow the chain to sag
- Sharpen the chain regularly
- Use the correct sharpening tools
- Never force a dull chain to cut
- Try to avoid hitting dirt, rocks or any other abrasive material while cutting
- Carry a spare chain
Getting to know your chain
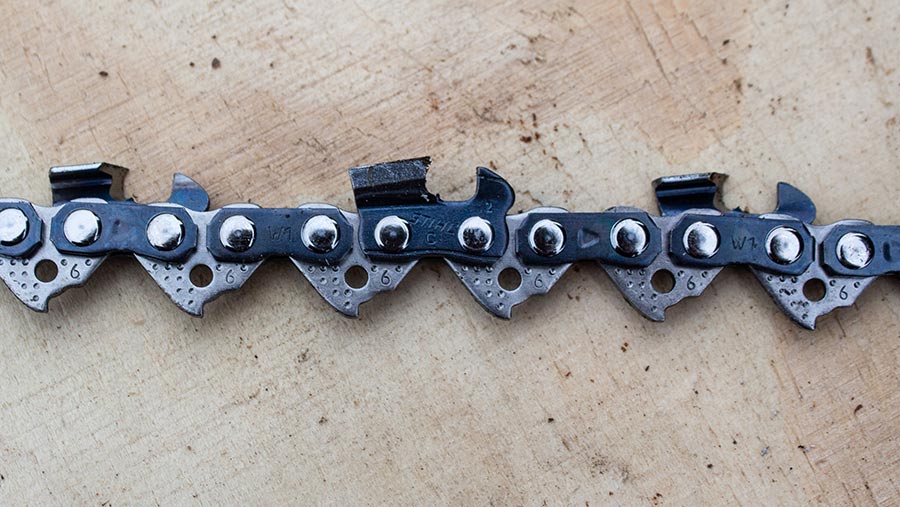
Each chainsaw model is designed to work with a specific gauge and pitch of chain, and it will have a guide bar and drive sprocket to match. The number of links in the chain is also specific to the length of the bar.
It’s important to know what these measurements are, firstly to make sure any replacement parts are compatible, but also to ensure the correct sharpening equipment is used.
Pitch is essentially the distance between the drive lugs and is measured by taking the distance between the centre of three rivets and dividing this by two – the measurement is usually given in inches.
© James Andrews
The gauge is the width of the drive links that run along the groove in the guide bar and the two must be the same. This is usually measured in millimetres.
Chain length varies according to the size of the bar and there are usually a number of bar options for each model of saw. All of these measurements should be stamped on the side of the bar.
The Stihl MS261 pictured here has a 0.325in pitch, a gauge of 1.6mm and is fitted with an 18in bar that requires a 74-link chain.
Tensioning
Proper chain tension is crucial for making sure a saw cuts safely and efficiently and doesn’t cause premature wear.
There are a few important rules of thumb for getting this right. Firstly, the chain should be snug against the bottom of the guide bar, with no daylight visible between the two.
Secondly, with the saw switched off and using the combi-tool that came with the saw or a gloved hand, the operator should be able to move the chain along the guide bar in the direction of cut with no tight spots.
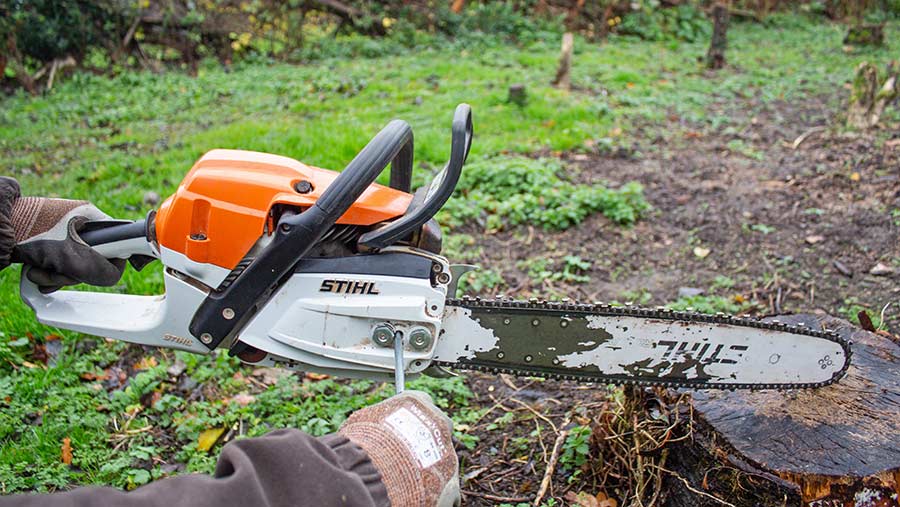
Correct chain tension is crucial for safety and efficiency © James Andrews
Most people with a saw should be aware of the tensioning process. Start by loosening the bar mounting nuts so that the nose of the bar can be moved up and down slightly.
Then grab the saw by the handle and lift it with the nose of the bar rested on a bench or piece of wood. Use the combi-tool to get the correct tension and then tighten the bar mounting nuts. This usually nips the chain up a little tighter, so allow for this when making the initial adjustment.
Some saws will have a tool-less quick tensioner, but the basics of correct tension remain the same.
Sharpening
Correct tools
Before taking a file to a chain, it’s crucial to make sure you have the correct equipment for the job. Filing kits are chain specific and using the wrong one can quickly damage the chain and its cutting ability.
Traditional kits include a round file for sharpening the cutters, with a guide to help make sure this is used at the correct depth and angle. It’s very difficult to get this right when using a round file freehand.
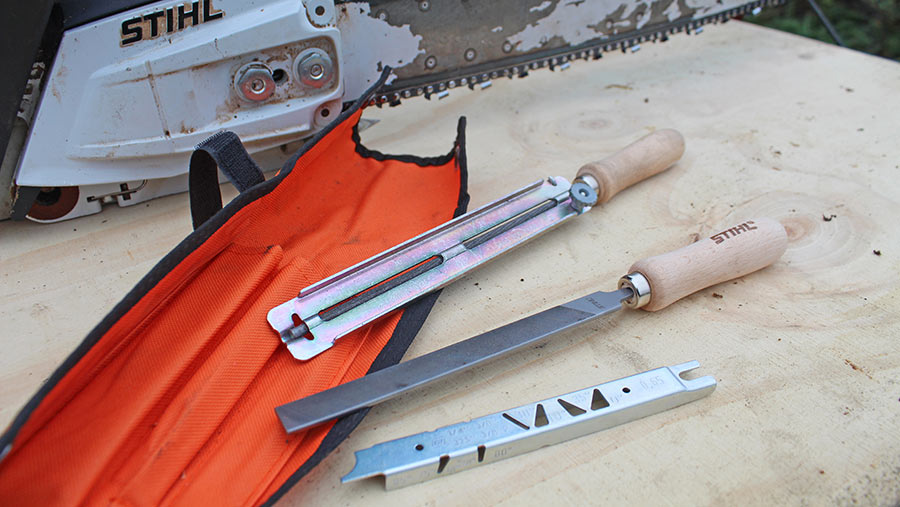
Filing kits are chain specific © James Andrews
There will also be a guide for checking the depth gauges are the correct height and a flat file for taking them down to the desired level.
To cut down on filing time and the amount of faff, there are some quick files that sharpen the cutters and lower the depth gauges at the same time. These are a more expensive option but, as well as the time saving, they reduce the margin for error. Stihl’s version is called the 2-in-1 Easy File.
A file guide will help sharpen cutters at the correct depth and angle © James Andrews
When to sharpen
Regular sharpening is a sensible idea, as this keeps the saw cutting at its best and means the process shouldn’t take too long.
If the job is put off until the chain won’t cut, it becomes a pretty laborious undertaking. The best approach is to quickly run the file over the chain every time the saw is filled with fuel.
For those who prefer to sharpen only when the saw really needs it, there are a few tell-tale signs to watch out for. Poor cutting ability is the obvious one, but there are a few more subtle cues to show that it’s losing performance.
A properly sharpened chain will feed itself into a cut when only slight pressure is applied. So, if a chain has to be forced into a cut by bearing down on the saw, the cutters are either too dull or have been damaged. Blunt cutters will also pull a fine sawdust from the cut, rather than chunky chips of wood.
Technique
Cutters
Start by securing the bar so that it won’t move around – a portable vice or stump vice is handy for doing this job in the field. Then find the cutter with the shortest top length, which is referred to as the master cutter.
Sharpen this to the correct angle, using the markers on the file guide or quick sharpening tool and check the finished result against the markers on the cutter itself. While doing this, it’s important to keep the file at 90deg to the bar.
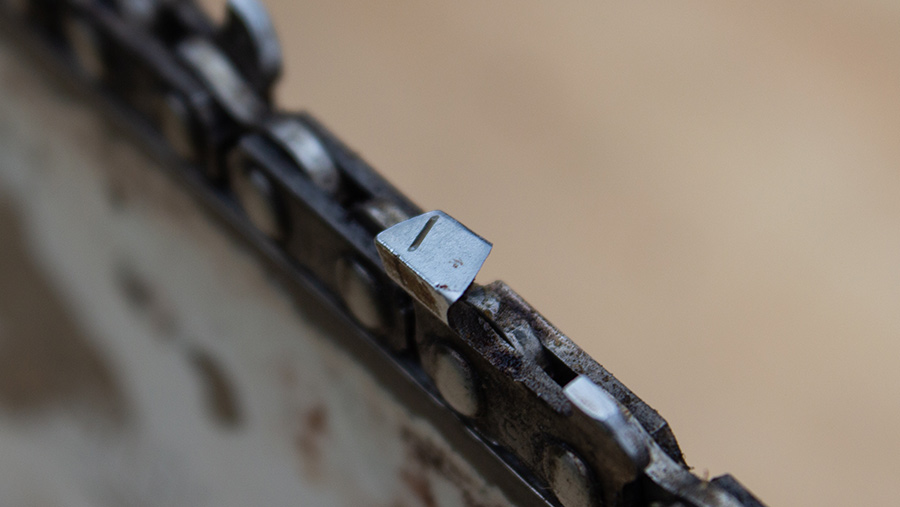
Damaged cutters can take a while to sharpen by hand © James Andrews
To ensure the saw cuts straight and even, all of the cutters need to be sharpened to the same length. This is relatively straightforward on a chain that’s in good condition, but it can be very time-consuming if some cutters have been damaged (see “Correcting chain damage”).
Vernier callipers can be used to check the cutters are even, but most people do it by eye.
The best way to tackle the job is to sharpen the cutters on one side of the chain first, then file the cutters facing the opposite direction. A marker pen can be useful for showing you where you started and avoid sharpening some twice.
Depth gauges
Once the cutters are tuned, it’s time to look at the depth gauges. An all-in-one tool will do this for you, but a manual filing kit will have a separate gauge and flat file for this purpose.
Start by placing the guide over the cutter to check that the depth gauges don’t sit proud of it. If they do, use the flat file to bring them down to the desired level and check the marks on the chain to make sure they are at the correct angle.
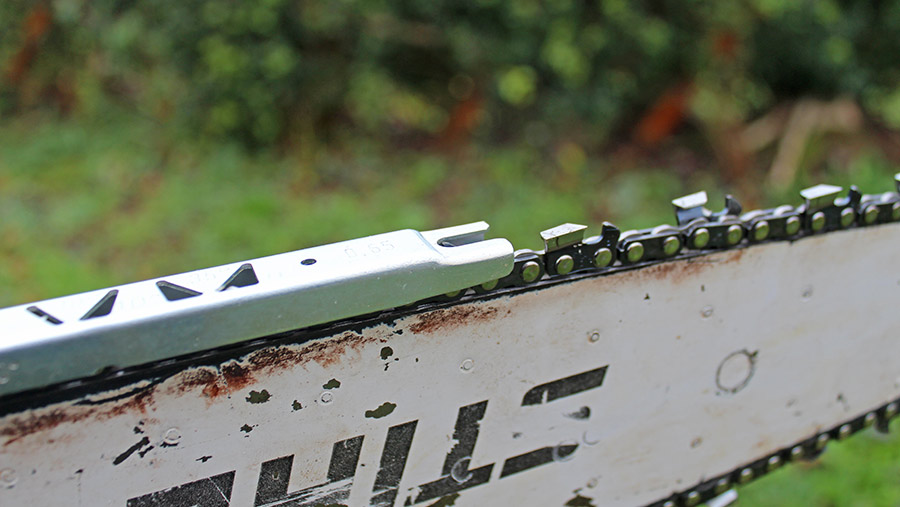
Filing kits will include a tool to check depth gauges © James Andrews
It’s important not to take too much off the depth gauges, otherwise the saw will dig in, running the risk of bogging down, jamming or kicking back. Finally, use the file to smooth the leading edge so that the gauge maintains its shape.
Guide bar maintenance
The guide bar should be flipped over periodically to even out the wear. At the same time, take the opportunity to clean out the groove and check its condition.
The guide rails are expected to wear over time, but this should be even on each side. If the saw has been used with a poorly tuned chain, one side can wear away more than the other, which is one factor that affects how straight the saw cuts. Some dealers will have tooling to correct uneven wear, or it might be time to invest in a new bar.
When turning the bar over, it is worth cleaning around the oil inlet hole to make sure the chain stays well lubricated.
Correcting chain damage
Just catching an object embedded in a piece of timber can take the points off the cutters and result in a serious amount of filing work to get them back.
It’s possible to do this by hand, but a quicker method is to use a bench-mounted grinder. This offers a fast way of resetting the angles and lengths. Most people won’t have one of these to hand, but dealers should be able to do this for you.
To save time in the field, it’s worth having a spare chain in your saw kit. If the one you’re working with gets damaged, it’s much quicker to swap it for the spare and deal with the problem later.
A bar-mounted hand-filing attachment can achieve the same result as a grinder (sharp, consistent angles and equal-length cutters), but it takes time. Handing the spare over to a dealer or sending it to an online sharpening specialist might be a more attractive option.
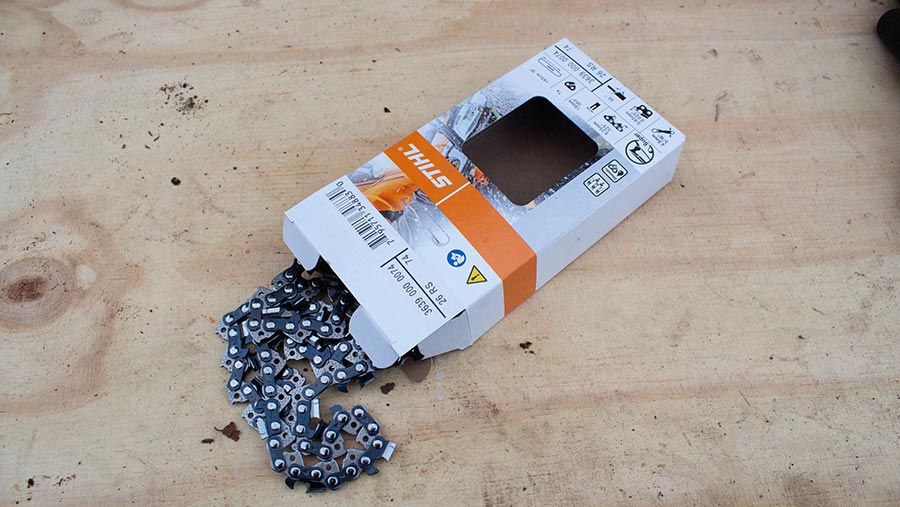
It is useful to keep a spare chain with you in the field © James Andrews
Replacement chains
If a chain doesn’t hit anything nasty or spend too much time in the soil, it can be used until the cutters have been filed back to the angle markers.
When the time does come to replace it, the guide bar and drive sprocket should be checked to make sure they are in a suitably good condition.
As a general rule, a drive sprocket should last the lifespan of two chains and the guide bar as long as four. However, this varies considerably depending on how well the saw has been maintained and the type of work it’s been doing.
Chains are pre-stretched, but they should be run in before they are put to work cutting. To do this, properly tension the chain and then run the saw for three minutes at partial throttle
Video tutorials
Most of this information is covered in a chainsaw training course, but there are also handy refresher videos online. Stick to those produced by saw manufacturers, as some independent ones contain incorrect information.
Find them on the Stihl and Husqvarna YouTube channels.
